The longevity of your stand mixer, whether it's a robust KitchenAid Artisan Series 5 Quart Tilt Head Stand Mixer or another brand, depends significantly on consistent cleaning practices. Food particles, flour dust, and sticky residues can accumulate quickly, affecting performance and hygiene. Understanding the correct cleaning methods for each component, from the mixer's body to its specialized attachments, helps maintain your equipment's pristine condition and ensures it's always ready for your next baking project.
Regular maintenance not only keeps your stand mixer looking new, but also prevents potential issues like seized parts or cross-contamination. Different materials and mechanisms require specific care. A quick wipe-down after each use can save you from tackling stubborn, dried-on messes later.
Cleaning the Stand Mixer Body and Base
The main body of your stand mixer houses the motor and electrical components. Because of this, it requires careful cleaning to avoid damage.
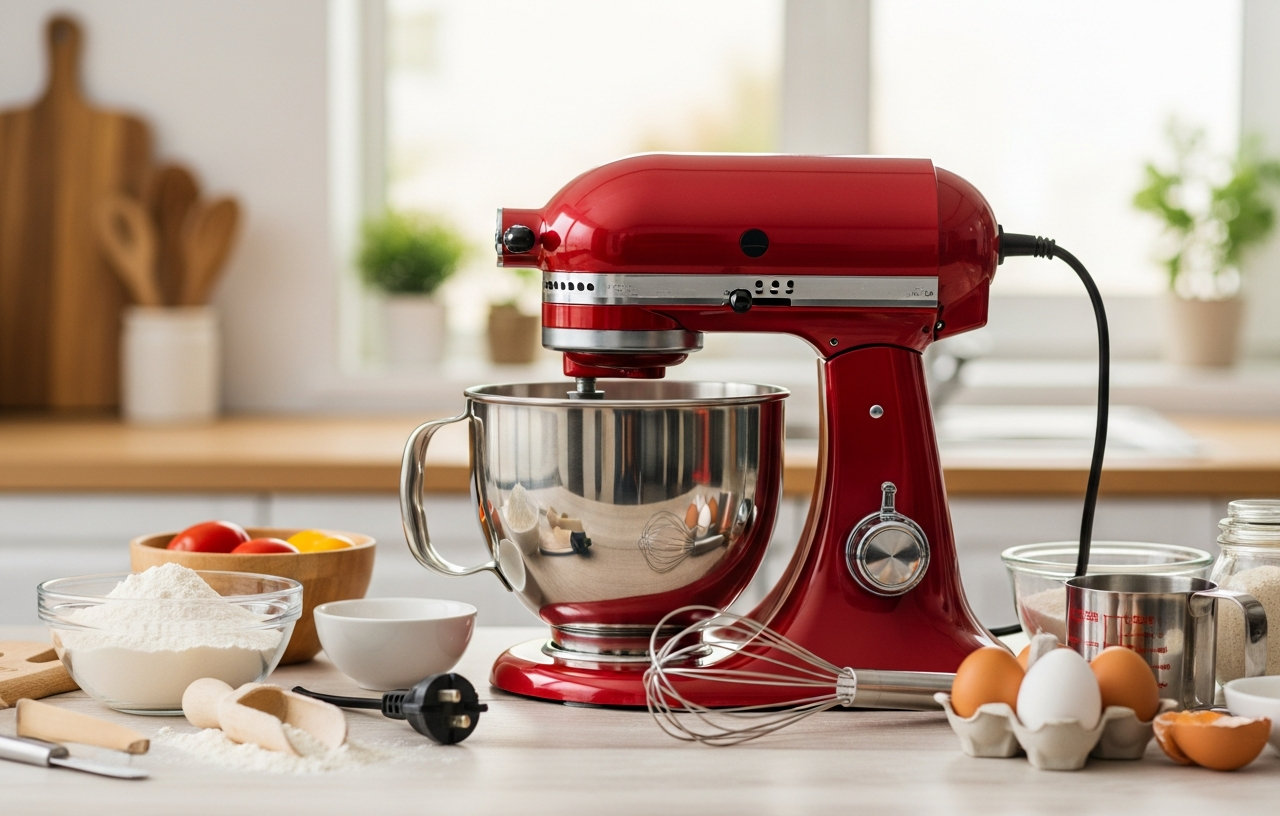
- Unplug the Mixer (Estimated Time: 5 seconds): Always disconnect the mixer from its power source before touching any part of it for cleaning or maintenance.
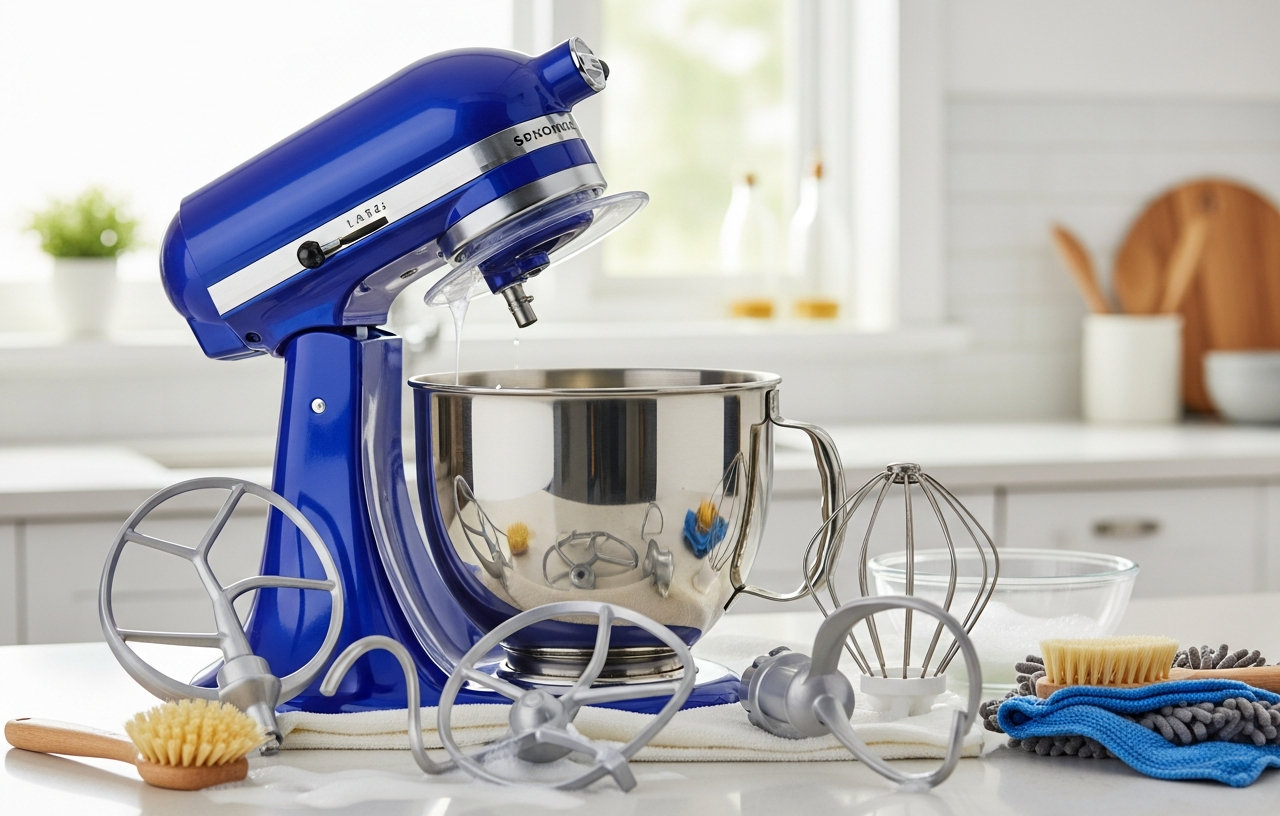
- Remove Attachments and Bowl (Estimated Time: 15 seconds): Take off any beaters, dough hooks, whisks, and the mixing bowl. Set them aside for separate cleaning.
- Wipe Down the Exterior (Estimated Time: 2-3 minutes): Use a soft cloth or sponge dampened with warm, soapy water. Gently wipe all external surfaces of the mixer, including the base, the tilt-head mechanism (if applicable), and the power hub area. Pay close attention to crevices where flour or batter might have settled. For stubborn, dried-on splatters, a slightly more concentrated soapy solution or a non-abrasive cleaner designed for kitchen appliances can be used.
- Dry Thoroughly (Estimated Time: 1 minute): Use a clean, dry cloth to wipe down the entire exterior. Make sure no moisture remains, especially around electrical components or the power hub.
Safety Warning: Never submerge the stand mixer's base or head in water. This can cause severe electrical damage and is a safety hazard. Avoid abrasive cleaners or scouring pads, as these can scratch the finish of your mixer.
Cleaning Stand Mixer Bowls
Most stand mixer bowls are designed for easy cleaning, but their material dictates the best approach.
Stainless Steel Bowls
The 5 Quart Stainless Steel Bowl that comes with models like the KitchenAid Artisan Series 5 Quart Tilt Head Stand Mixer is generally robust and easy to clean.
- Scrape Out Residue (Estimated Time: 30 seconds): Use a rubber spatula to scrape out any remaining batter or dough.
- Wash by Hand or Dishwasher (Estimated Time: 2-5 minutes): Most stainless steel bowls are dishwasher safe. For hand washing, use warm, soapy water and a non-abrasive sponge. For tough, dried-on dough, you might need to let the bowl soak for 10-15 minutes before scrubbing.
- Rinse and Dry (Estimated Time: 30 seconds): Rinse thoroughly with clean water and dry immediately to prevent water spots, especially if you have hard water.
Glass Bowls
Glass bowls are beautiful and allow you to see your mixing progress. They are often dishwasher safe, but always check the manufacturer's specific care instructions.
- Scrape and Soak (Estimated Time: 1-2 minutes): Remove any large food particles. If there's dried batter, fill the bowl with warm, soapy water and let it soak for 15-30 minutes.
- Wash (Estimated Time: 2 minutes): Hand wash with warm, soapy water and a sponge, or place in the dishwasher.
- Rinse and Dry (Estimated Time: 30 seconds): Rinse well and dry with a soft cloth to avoid streaks.
Cleaning Stand Mixer Attachments
Different attachments require different cleaning methods due to their materials and mechanical parts. Proper care for each attachment extends its lifespan.
Beaters, Dough Hooks, and Whisks
These are the most commonly used attachments and are generally simple to clean.
- Scrape Off Excess (Estimated Time: 30 seconds): Remove any excess dough or batter with a spatula.
- Wash (Estimated Time: 1-2 minutes): Most standard beaters, dough hooks, and whisks (unless specified otherwise) are dishwasher safe. Alternatively, hand wash them with warm, soapy water.
- Rinse and Dry (Estimated Time: 30 seconds): Rinse thoroughly and dry completely, especially if they have any non-stainless steel parts, to prevent rust.
How to Clean KitchenAid Pasta Attachments (Rollers and Cutters)
The KitchenAid Stand Mixer Attachment, KSMPRA 3-Piece Pasta Roller & Cutter Set is a popular accessory, but it requires specific care. Cleaning kitchen aid pasta maker attachments, including the pasta roller kitchenaid, is very different from other mixer parts.
- Allow Dough to Dry (Estimated Time: 1-2 hours): After making pasta, immediately detach the pasta roller and cutter attachments from your KitchenAid mixer. Do not attempt to clean them wet. Let any residual dough dry completely on the rollers and cutters. This usually takes an hour or two, depending on humidity.
- Brush Off Dried Dough (Estimated Time: 2-5 minutes): Once the dough is dry and brittle, use the cleaning brush that came with your KitchenAid pasta attachment set. Gently brush away all dried dough from the rollers, cutters, and crevices. A wooden skewer or toothpick can help dislodge stubborn bits.
- Hand Wipe Only (Estimated Time: 1 minute): After brushing, use a clean, dry cloth to wipe down the entire attachment. Make sure no dough particles or flour dust remain.
- Store Properly (Estimated Time: 15 seconds): Store the cleaned and completely dry pasta attachments in their original box or a clean, dry cabinet to protect them from dust and moisture.
Important Note on Cleaning Pasta Attachments: Submerging pasta rollers and cutters in water or putting them in the dishwasher can cause flour residue to turn into a sticky paste, jamming the internal mechanisms. It can also lead to rust on internal metal parts, rendering the attachment unusable. Always follow the dry cleaning method for how to clean a KitchenAid pasta attachment.

- Genuine KitchenAid Stand Mixer Attachment - Designed and engineered by the manufacturers of the KitchenAid Stand Mixer, sold separately. Powered by your KitchenAid Stand Mixer to make quick and easy work of fresh homemade pasta in your kitchen using the 3-Piece Pasta Roller and Cutter Set. Fits all Household KitchenAid Stand Mixers. sold separately.. Stainless steel rollers and cutters for consistent smooth rolling and clean cutting of pasta dough. Hand Wipe only - cleaning tool included.. Easily roll 6-inch sheets of fresh pasta, with 8 thickness settings, to achieve your desired sheet thickness.
How to Clean KitchenAid Metal Food Grinder Attachments
The KitchenAid Stand Mixer Attachment, Food Grinder KSMMGA, is another valuable tool that needs proper cleaning to stay hygienic and functional.
- Disassemble Completely (Estimated Time: 1 minute): Immediately after use, disassemble the food grinder. Separate the grinding plates, blade, and the auger from the main body and the food tray.
- Scrape Off Residue (Estimated Time: 1-2 minutes): Use a small brush or a rubber spatula to scrape off any remaining meat or food particles from all components.
- Wash All Parts (Estimated Time: 3-5 minutes): Wash all disassembled parts (except the main grinder body if it has non-washable components, always check your manual) with warm, soapy water. Pay close attention to the small holes in the grinding plates, using a brush to ensure they are clear.
- Rinse Thoroughly (Estimated Time: 1 minute): Rinse all parts under clean running water until all soap residue is gone.
- Dry Immediately and Completely (Estimated Time: 2-3 minutes): This step is critical to prevent rust. Dry all metal parts immediately with a clean towel. For extra measure, you can air dry them completely on a rack before reassembling or storing. Any moisture left behind can lead to corrosion.
- Store (Estimated Time: 15 seconds): Once completely dry, reassemble the grinder or store the parts in a dry place.

- Connect to any household KitchenAid Stand Mixer power hub and use the power of the motor to run the metal food grinder attachment. sold separately.. The possibilities for creating fresh, inventive foods are endless with the included fine, medium and coarse grinding plates and two sausage stuffer tubes.. The larger food tray allows you to process more ingredients in one batch, cutting down on food prep time. Compared to model FGA.. Pre-chill the grinder in the refrigerator or freezer to maintain a cold grinding temperature for a neat and clean grind every time.
General Tips for Stand Mixer Care
- Immediate Cleaning is Best: Clean up spills and splatters as soon as they happen. This prevents food from drying and becoming much harder to remove.
- Check Manufacturer Manuals: Always refer to your specific stand mixer's manual for detailed cleaning instructions. Not all models or attachments are exactly alike.
- Regular Deep Cleaning: Beyond daily wipes, consider a monthly deep clean to address any hidden grime.
- Proper Storage: Store your mixer and its attachments in a clean, dry place. Using a mixer cover can protect the main unit from dust.
A well maintained stand mixer, such as the KitchenAid Artisan Series 5 Quart Tilt Head Stand Mixer, will reliably serve your baking needs for many years. Regular cleaning of your KitchenAid mixer, including specialized parts like the KitchenAid pasta roller and meat grinder, not only keeps it looking good but also ensures optimal performance and food safety.
For more detailed information on using your mixer, see our guide on How to Use a Stand Mixer: Speeds, Tools, and Care. If you are considering adding more accessories, explore our recommendations for Best KitchenAid Pasta Attachments: Roller, Cutter, and Press Sets Compared and Top KitchenAid Stand Mixer Attachments: Pasta, Meat Grinder, and More.
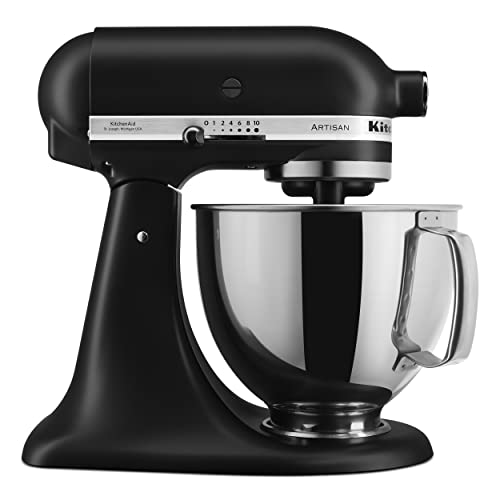
- Built to take it all on with the durable and built-to-last metal construction, and 59 touchpoints around the mixer bowl for great mixing results.. 5 Quart Stainless Steel Bowl with comfortable handle for small or large batches, to mix up 9 dozen cookies* in a single batch. Dishwasher safe. *Using the flat beater; 28g dough each.. Easily add ingredients with the tilt-head design, because you'll have better access to the bowl - lock the head in place while mixing.. 10 speeds for nearly any task or recipe, from mixing ingredients together on the stir speed, to whipping cream at speed 8, you'll get thorough ingredient incorporation every time.