Can Your Stand Mixer Make Butter? Absolutely.
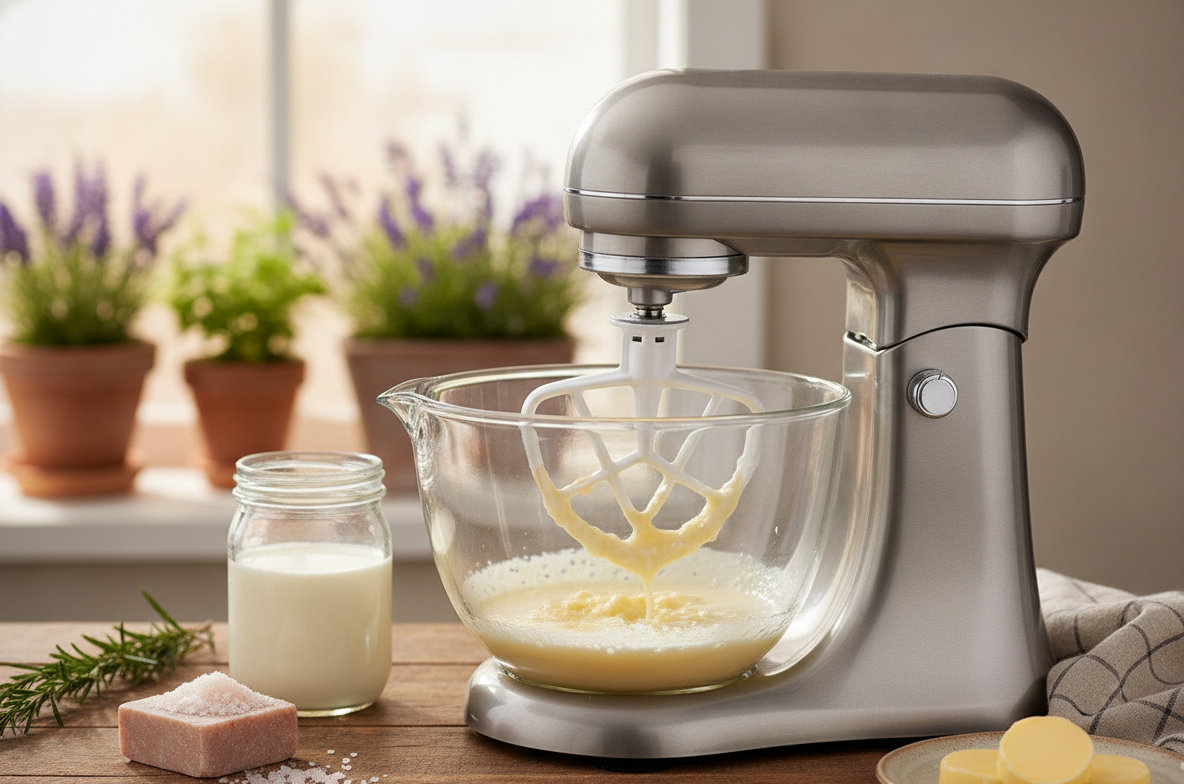
The mechanical action of the stand mixer's whisk attachment agitates the cream, causing the fat globules to clump together and separate from the liquid. This transformation is a classic example of emulsion inversion, where the fat-in-water emulsion of cream becomes a water-in-fat emulsion of butter.
Many home bakers and cooking enthusiasts appreciate the ability to produce fresh, preservative-free butter. The stand mixer simplifies what would traditionally be a laborious manual churning process, making it accessible for regular home use. Understanding the science behind this process helps in achieving consistent, high quality results.
For a broader look at what your mixer can do, explore Stand Mixer Attachments Guide: What Each One Does and Who Needs It.
The Science of Butter Making with a Stand Mixer
The journey from liquid cream to solid butter involves several distinct physical changes driven by mechanical force. Heavy cream is an emulsion of tiny fat globules dispersed in a water-based liquid. Each fat globule is surrounded by a membrane composed of phospholipids and proteins, which prevents them from clumping together.
When the stand mixer's whisk attachment begins to agitate the cream, it introduces air and applies shear force. Initially, this agitation incorporates air, creating a stable foam known as whipped cream. At this stage, the fat globules are still intact but are surrounded by air bubbles, giving whipped cream its light texture and increased volume. The cream will increase in volume by approximately 200% to 300% during this phase, depending on its butterfat content and temperature.
As whipping continues beyond the soft or firm peak stage, the protective membranes around the fat globules begin to rupture. This allows the exposed fat molecules to coalesce, forming larger and larger clumps. These clumps eventually become visible as solid butter granules. The remaining liquid, primarily water, lactose, and some proteins, is separated and known as buttermilk. The speed and duration of agitation are critical factors in controlling this separation, which typically occurs within 5 to 10 minutes on a medium-high speed setting for most stand mixers.
Choosing the Right Cream for Homemade Butter
Heavy Cream or Heavy Whipping Cream
For optimal results, use heavy cream or heavy whipping cream. These terms typically denote a cream with a butterfat content of at least 36%. Some brands offer creams with even higher fat content, such as 40%, which can yield more butter and churn faster. Lower fat creams, like light cream (around 20% butterfat) or half-and-half (10.5-18% butterfat), will not churn into butter effectively due to insufficient fat content. They may whip to a soft consistency but will not separate into butter solids.
Pasteurization and Ultra-Pasteurization
Most cream available in stores is pasteurized, meaning it has been heated to a specific temperature for a set time to kill bacteria. This type of cream works well for butter making. However, ultra-pasteurized (UHT) cream, which is heated to a much higher temperature for a shorter period, can be more challenging to churn. The intense heat treatment can denature some proteins and fats, making it harder for the fat globules to coalesce. While it is possible to make butter with UHT cream, it may take longer and yield slightly less volume. For best results, seek out heavy cream that is not ultra-pasteurized if possible.
Cream Temperature
The temperature of the cream is a critical factor. If the cream is too warm, the fat globules will be too soft and may not coalesce properly, potentially leading to a greasy, oily butter or an extended churning time. If the cream is too cold, the fat can become too firm, also extending the churning process or making it difficult for the fat globules to separate cleanly. Allowing cream to sit out for about 15-20 minutes after refrigeration can bring it to the ideal temperature range.
The Essential Stand Mixer Attachment for Making Butter
When making butter with a stand mixer, the primary and most effective attachment is the whisk attachment, often referred to as a balloon whisk. This attachment is standard with virtually all stand mixer models, including those from KitchenAid, Cuisinart, and other brands.
How the Whisk Attachment Works
The whisk attachment is designed with multiple wire loops that incorporate air into mixtures and provide the necessary agitation. For butter making, its structure creates significant shear force and aeration, which are essential for rupturing the fat globule membranes in cream. The rapid movement of the wires through the cream causes the fat globules to collide, break, and merge, ultimately forming butter solids.
Other Attachments to Avoid
While other attachments exist for stand mixers, they are not suitable for butter production:
- Flat Beater (Paddle Attachment): This attachment is designed for creaming butter and sugar, mixing batters, and mashing. Its broader surface area does not provide the intense aeration and shearing required to break down fat globules efficiently enough to make butter. Using a flat beater would likely result in an incomplete separation of butter and buttermilk, taking an excessively long time.
- Dough Hook: Specifically designed for kneading heavy doughs like bread, the dough hook applies a folding and stretching action. It is entirely ineffective for churning cream, as it would merely push the liquid cream around the bowl without introducing the necessary air or shear force.
Always make sure to use the whisk attachment for butter making to ensure the process is efficient and successful. For an overview of different mixer attachments, read The Best KitchenAid Attachments, Ranked by What You Actually Use.
step by step Guide to Making Butter with Your Stand Mixer
Making homemade butter is a rewarding process. Follow these steps for successful churning:
1. Prepare Your Cream
- Chill Cream: Make sure your heavy cream is cold, ideally between 45-55°F (7-13°C).
- Measure: Pour 1 to 2 quarts (approximately 1 to 2 liters) of heavy cream into your stand mixer bowl. Do not overfill the bowl, as the cream will expand significantly before it turns to butter. A 5-quart mixer bowl can typically handle up to 2 quarts of cream.
2. Set Up the Mixer
- Attach Whisk: Secure the whisk attachment to your stand mixer.
- Splash Guard: Place a splash guard over the bowl if your mixer has one. This is highly recommended, especially during the initial whipping phase, as cream can splash out of the bowl.
3. Churn the Cream
- Start Slow: Begin mixing on a low speed (e.g., speed 2 on a KitchenAid mixer) for about 1 minute. This helps to gradually incorporate air and prevent splashing.
- Increase Speed: Gradually increase the mixer speed to medium-high (e.g., speed 6-8).
- Observe Stages: The cream will progress through several stages: liquid, soft peaks, firm peaks (whipped cream), then it will start to look grainy and yellowish.
- Separation: Continue mixing until the butter solids visibly separate from the liquid buttermilk. This usually takes 5-10 minutes, depending on the cream's temperature and fat content, and your mixer's power. The mixture will often look curdled before the solids fully separate. You will hear a distinct change in sound as the solids clump and slap against the bowl.
4. Drain the Buttermilk
- Stop Mixer: Once the butter solids have formed a single mass or several large clumps, stop the mixer.
- Remove Buttermilk: Carefully pour the liquid buttermilk into a separate container. This buttermilk is excellent for baking, pancakes, or drinking.
5. Wash the Butter
- Add Cold Water: Place the butter mass back into the mixer bowl. Pour in about 1 cup of very cold, ideally ice-cold, water.
- Mix Gently: Turn the mixer on low speed (speed 2) for about 30 seconds. The butter will break apart in the water.
- Drain and Repeat: Drain the cloudy water. Repeat this washing process 2-3 more times, or until the water runs clear. This removes all residual buttermilk, which can cause the butter to spoil quickly and develop off-flavors.
6. Press and Shape
- Remove Butter: Take the washed butter out of the bowl and place it on a clean surface or in a bowl.
- Press Out Water: Use a spatula or your hands (wearing gloves) to press out any remaining water. You can also press it against the side of a bowl or use a butter mold.
- Salt (Optional): If desired, knead in fine salt to taste. A common ratio is 1/4 teaspoon of salt per 1/2 cup of butter.
- Shape: Shape the butter into logs, blocks, or use a mold.
Troubleshooting Common Butter Making Issues
Understanding these can help you achieve perfect results every time.
Cream Not Churning
If your cream seems to be taking an unusually long time to churn, or simply remains in a whipped cream state without separating, the most common culprits are cream temperature and butterfat content. Cream that is too warm (above 55°F or 13°C) will struggle to separate because the fat globules are too soft to form stable clumps. Conversely, cream that is too cold (below 45°F or 7°C) can also take longer, as the fat is too firm. Ensure your cream is in the ideal 45-55°F range. Additionally, using cream with less than 36% butterfat, such as light cream or half-and-half, will not yield butter, as there isn't enough fat to coalesce.
Oily or Greasy Butter
Butter that feels oily or greasy, rather than firm, often indicates that the cream was too warm during churning. When the fat globules are too soft, they can emulsify rather than fully separate, leading to an undesirable texture. Chilling your cream to the correct temperature before starting is the best way to prevent this. Another possibility is over-mixing beyond the point of clear separation, which can sometimes break down the butter's structure.
Excessive Splashing
During the initial stages of whipping, especially as the cream approaches the whipped cream consistency, splashing can be significant. This is why a splash guard is highly recommended for your stand mixer. Starting the mixer on a very low speed for the first minute or two before gradually increasing it also helps to contain the liquid. Some larger mixer bowls may have less issue with splashing than smaller ones, like those on compact tilt-head models.
For more details on using your stand mixer, refer to How to Use a Stand Mixer: Speeds, Tools, and Care.
Washing and Storing Your Homemade Butter
Washing the butter is a critical step that directly impacts its flavor, texture, and shelf life. Many beginners overlook this, but it is essential.
The Importance of Washing
After separating the butter from the buttermilk, the butter mass still contains residual buttermilk trapped within its structure. If this buttermilk is not thoroughly removed, it will cause the butter to spoil much faster. The lactose and proteins in the buttermilk provide a breeding ground for bacteria, leading to a sour or rancid taste. Proper washing ensures a cleaner, purer butter flavor and significantly extends its freshness.
The Washing Process
To wash the butter:
- After draining the initial buttermilk, return the butter to the mixer bowl.
- Add a generous amount of very cold water, preferably ice water, to the bowl. The cold water helps to keep the butter firm and prevents it from melting.
- Turn the mixer on the lowest speed (Speed 1 or 2) for about 30 seconds. This gently breaks up the butter and allows the water to rinse through it.
- Drain the cloudy water. You will see milky residue indicating the buttermilk being washed away.
- Repeat this process 2-3 more times, or until the water you drain off is completely clear. This signals that virtually all the buttermilk has been removed.
Salting and Flavoring (Optional)
Once the butter is washed, you can knead in salt if you prefer salted butter. Fine-grained salt dissolves more easily and distributes evenly. A common ratio is 1/4 teaspoon of fine salt per 1/2 cup (approximately 113 grams) of butter, but adjust to your taste. You can also incorporate other flavorings, such as fresh herbs (rosemary, thyme), garlic, honey, or citrus zest, to create compound butters. Make sure any additions are finely chopped and evenly mixed.
Storage
Properly washed and pressed butter can be stored in an airtight container or wrapped tightly in parchment paper or plastic wrap in the refrigerator for up to 2-3 weeks. For longer storage, homemade butter freezes exceptionally well. Wrap it tightly in freezer-safe packaging, and it can last for several months (up to 6 months) in the freezer without significant loss of quality.
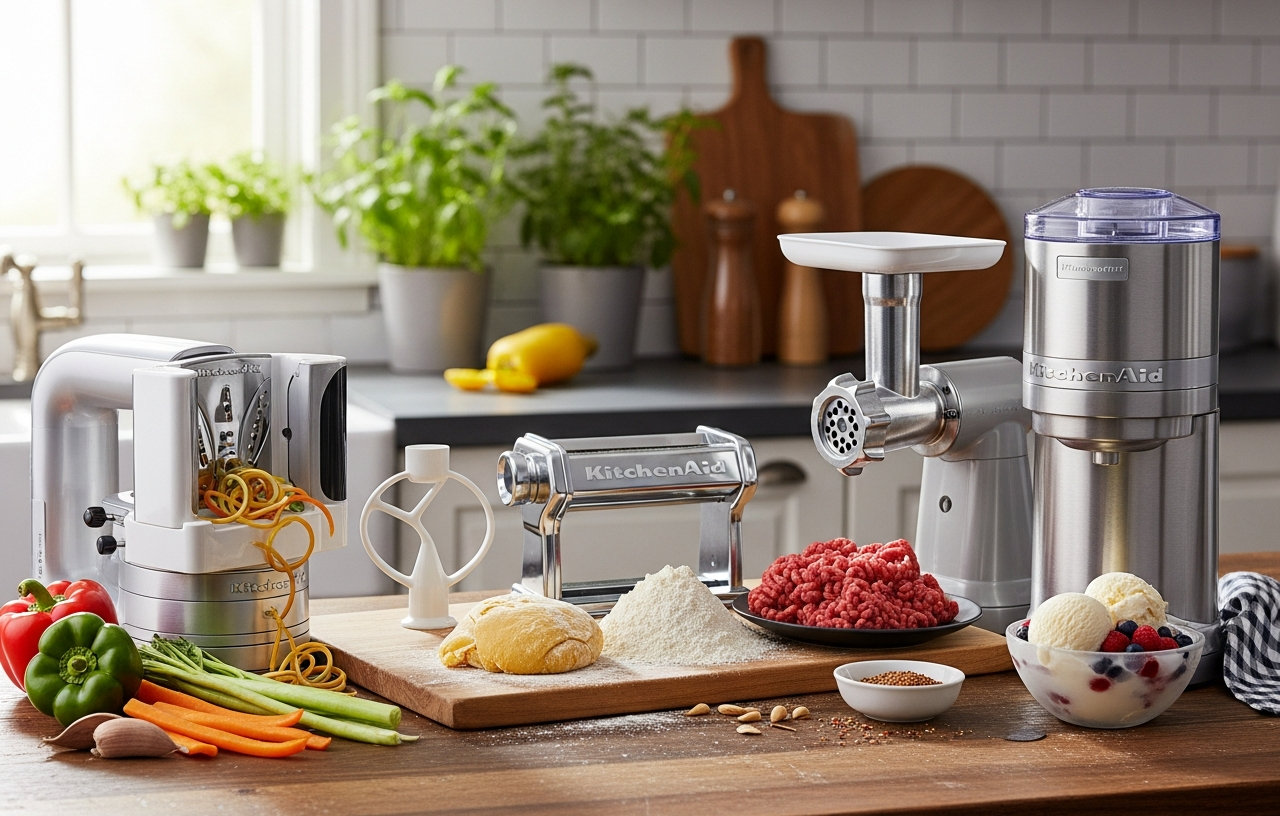
Beyond the Whisk: Other Stand Mixer Attachments
While the whisk attachment is your go to for making butter, your stand mixer offers a wide array of other attachments that broaden its utility in the kitchen. Understanding these can help you get the most out of your appliance.
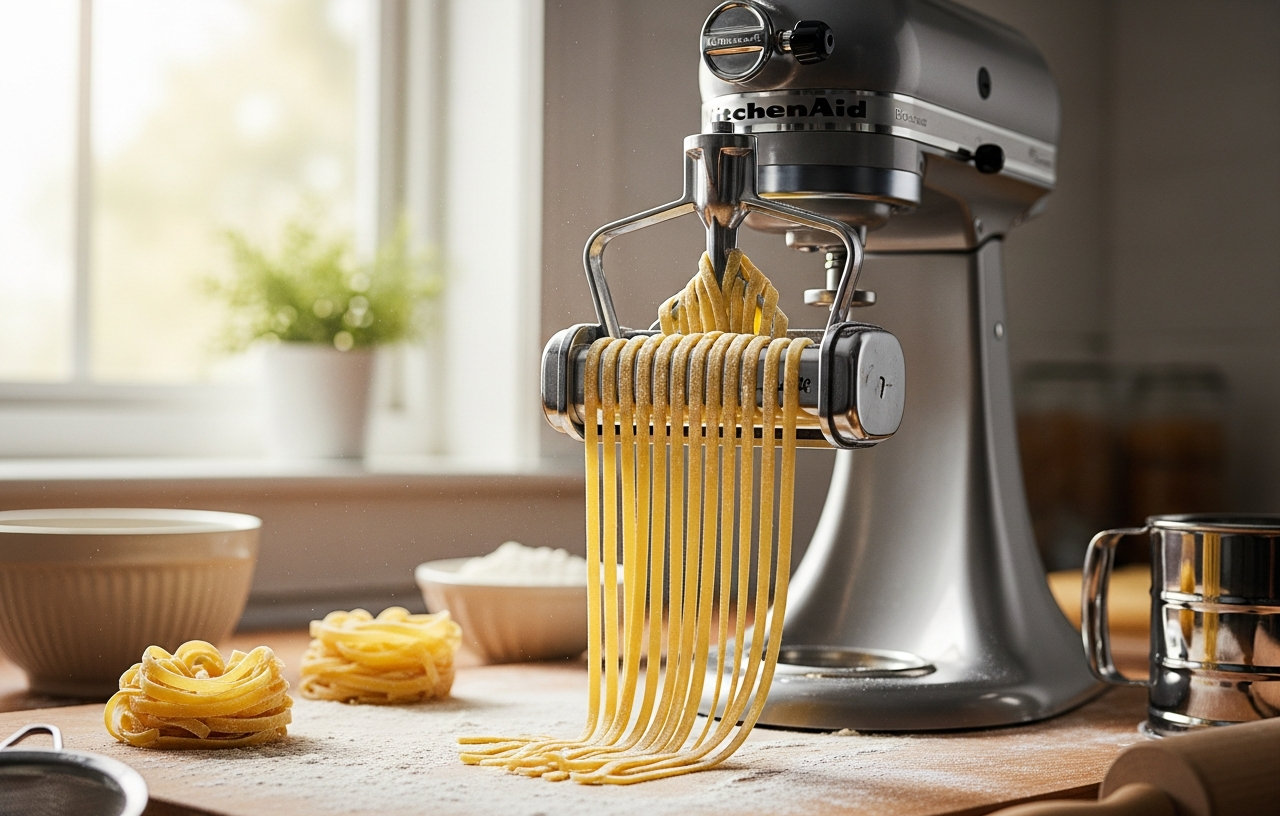
Pasta Attachments
Many stand mixers, particularly KitchenAid models, offer pasta roller and cutter attachments. These can transform dough into fresh pasta sheets for lasagna, fettuccine, or spaghetti. Some even have a pasta press for making macaroni or rigatoni. These attachments save significant manual effort compared to hand-rolling pasta.
Find out more about these in Best KitchenAid Pasta Attachments: Roller, Cutter, and Press Sets Compared.
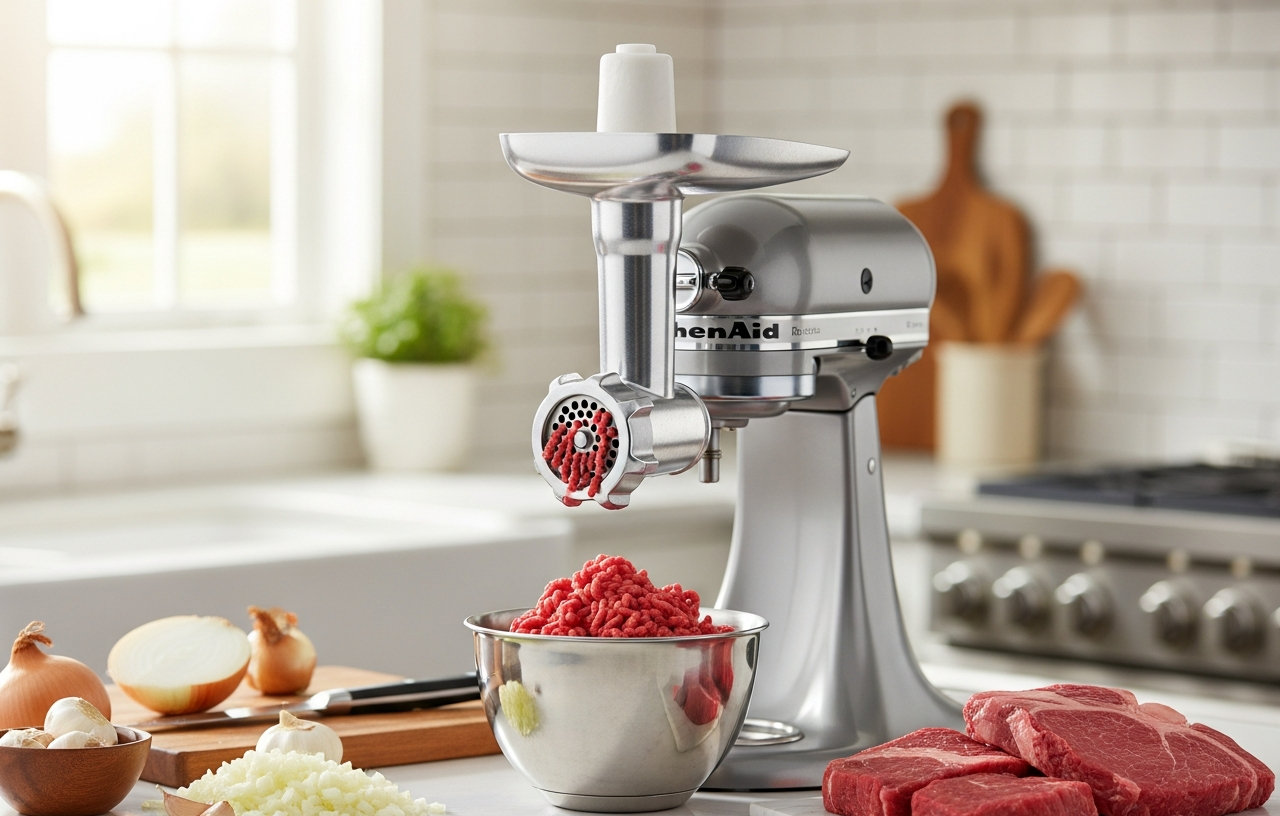
Meat Grinder Attachments
A meat grinder attachment allows you to grind your own meats for burgers, sausages, or meatloaf, giving you control over the fat content and freshness. This is a practical tool for those who prefer to process their own ingredients for specific culinary needs.
Learn how to use it with Guide to Using Your KitchenAid Meat Grinder Attachment.
Ice Cream Maker Attachments
For dessert enthusiasts, an ice cream maker attachment turns your stand mixer into a frozen treat factory. It typically consists of a freeze bowl and a churning paddle, allowing you to create homemade ice cream, sorbet, or frozen yogurt.
See how it works in KitchenAid Ice Cream Maker Attachment: Review and How It Performs.
Spiralizer Attachments
Spiralizer attachments are popular for creating vegetable noodles or decorative garnishes from fruits and vegetables like zucchini, apples, or potatoes. They offer a healthy and creative way to incorporate more produce into meals.
Discover its uses with KitchenAid Spiralizer Attachment Review: Worth Adding to Your Mixer?.
These examples illustrate that while your stand mixer excels at tasks like making butter with its standard whisk, its true versatility extends far beyond basic mixing. Exploring the range of available attachments can significantly expand your culinary repertoire.
Maintaining Your Stand Mixer After Butter Making
After making butter, proper cleaning and maintenance of your stand mixer and attachments are important to keep them in good working order. Fat residues can be stubborn to remove if not addressed promptly.
Cleaning the Whisk Attachment
Immediately after use, rinse the whisk attachment under hot water to remove as much butter and buttermilk residue as possible. For thorough cleaning, wash it with warm, soapy water. Pay attention to the areas where the wires join the hub, as fat can accumulate there. Most metal whisk attachments are dishwasher-safe, but always check your manufacturer's instructions. Some older or coated whisks may require hand washing to preserve their finish.
Cleaning the Mixer Bowl
The mixer bowl will also have butterfat residue. Hot, soapy water is effective for cleaning. For stainless steel bowls, a quick scrub with a non-abrasive sponge usually suffices. If any butter residue has dried, a short soak in hot water can help loosen it before washing. Many stainless steel bowls are dishwasher-safe.
Cleaning the Mixer Head and Base
Even with a splash guard, some cream or buttermilk may splash onto the mixer head or base. Wipe these surfaces down with a damp cloth immediately after use. For stubborn spots, a cloth dampened with a mild, all-purpose cleaner can be used, followed by wiping with a clean, damp cloth to remove any cleaner residue. Make sure to unplug your mixer before cleaning the main unit.
General Maintenance Tips
Regularly inspect your attachments for any signs of wear or damage. Store attachments in a dry place to prevent rust or corrosion, especially for metal components. Following these simple cleaning and maintenance steps helps to prolong the life of your stand mixer and its attachments, ensuring it remains ready for your next culinary project, whether it's making butter or kneading dough.
For general stand mixer care, see How to Use a Stand Mixer: Speeds, Tools, and Care.