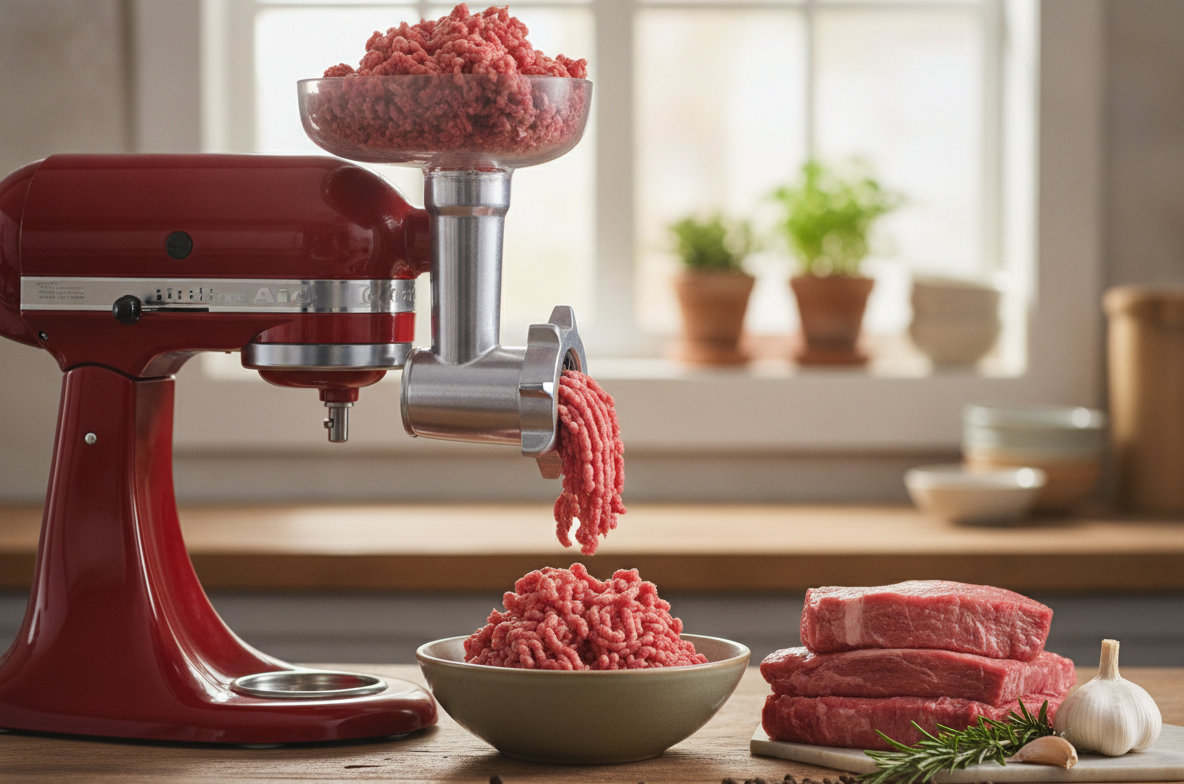
Freshly ground meat offers a noticeable difference in flavor and texture compared to pre-packaged options. Using your KitchenAid meat grinder attachment allows for complete control over the type of meat, fat content, and grind consistency. Whether you are making custom burger blends, fresh sausage, or finely ground fillings for meatballs, mastering this attachment opens up a world of culinary possibilities.
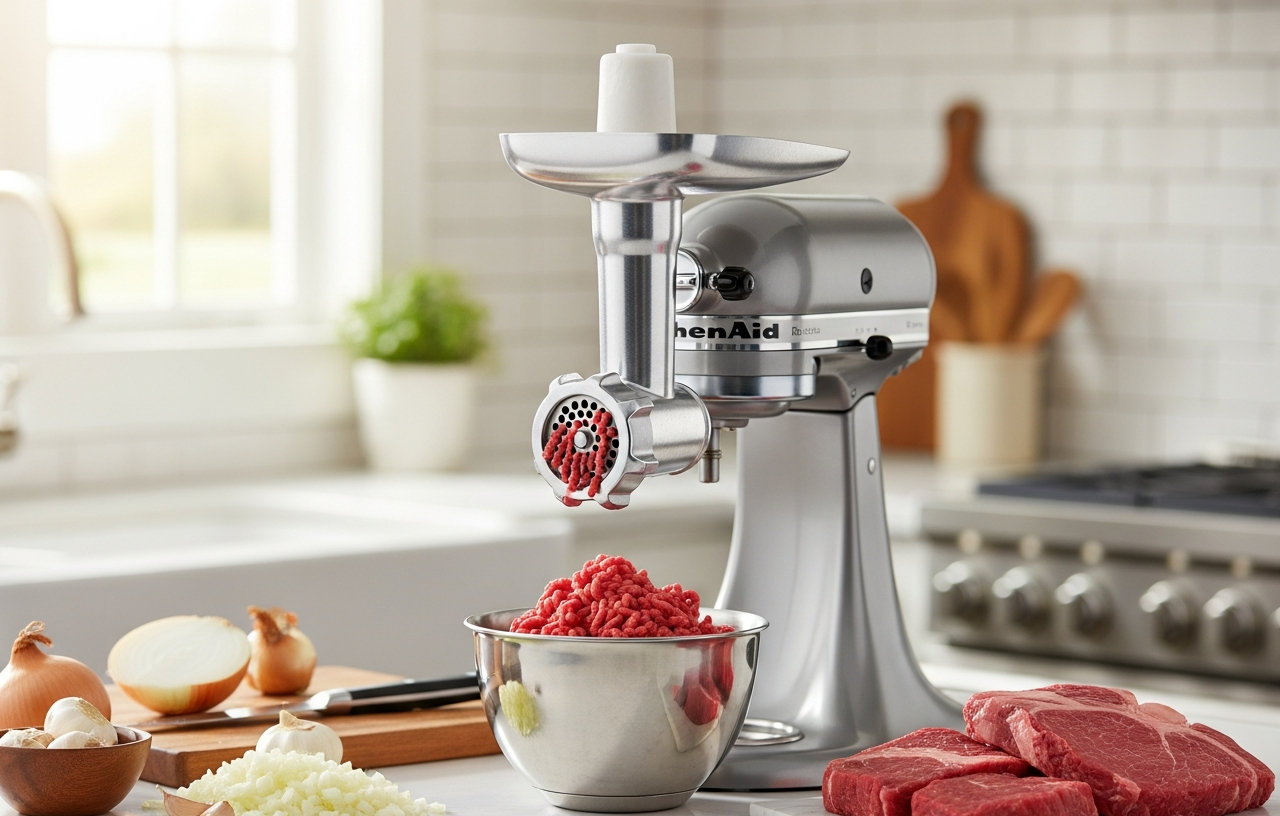
The KitchenAid Metal Food Grinder Attachment (KSMMGA) connects directly to the power hub of any household KitchenAid Stand Mixer. This robust metal attachment uses the mixer's motor to efficiently process ingredients. It includes fine, medium, and coarse grinding plates, along with two sausage stuffer tubes, providing versatility for various recipes. Its larger food tray is designed to handle more ingredients in a single batch, reducing preparation time. For the cleanest and safest grind, it is always recommended to pre-chill the entire attachment in the refrigerator or freezer before use. This helps maintain a cold grinding temperature, which is important for preventing fat smear and bacterial growth.

- Connect to any household KitchenAid Stand Mixer power hub and use the power of the motor to run the metal food grinder attachment. sold separately.. The possibilities for creating fresh, inventive foods are endless with the included fine, medium and coarse grinding plates and two sausage stuffer tubes.. The larger food tray allows you to process more ingredients in one batch, cutting down on food prep time. Compared to model FGA.. Pre-chill the grinder in the refrigerator or freezer to maintain a cold grinding temperature for a neat and clean grind every time.
Gather Your Tools and Ingredients
Before you begin the process of how to use your KitchenAid meat grinder attachment, gather everything you will need. Having all your components and ingredients ready ensures a smooth and sanitary grinding experience.
Required Tools and Materials
- KitchenAid Stand Mixer: The power source for your attachment.
- KitchenAid Meat Grinder Attachment: Ensure all parts, including the grinding plates, blade, and food pusher, are clean and accounted for.
- Sharp Knife: For preparing your meat.
- Large Bowls: At least two, preferably chilled, for holding prepared meat and collecting ground meat.
- Cutting Board: A sturdy surface for meat preparation.
- Gloves: Optional, but recommended for hygiene.
- Cleaning Brush: A small brush or the included cleaning tool for post-grinding cleanup.
Preparing Your Meat
The quality of your ground meat begins with proper preparation. This step is critical for a successful grind.
- Choose Your Meat: Select fresh, high quality cuts. For burgers or sausages, a good fat-to-lean ratio is important. A common ratio is 80/20 (80% lean, 20% fat) for juicy results.
- Chill Thoroughly: Place your meat in the freezer for 30-60 minutes before grinding. It should be very cold and firm, but not frozen solid. This firm texture allows for a clean cut by the grinder and prevents smearing of fat.
- Cut into Uniform Pieces: Trim away any silver skin, gristle, or large pieces of connective tissue. Cut the chilled meat into approximately 1-inch (2.5 cm) cubes or strips. Uniform pieces feed through the grinder more consistently and reduce the chance of clogging.
How to Set Up Your KitchenAid Meat Grinder Attachment
Proper setup is essential for both safety and efficient operation. This section covers how to attach the meat grinder to KitchenAid stand mixers.
-
Pre-chill the Grinder Components (15-30 minutes):
Disassemble the meat grinder attachment. Place the grinding body, worm screw, blade, selected grinding plate, and locking ring into your refrigerator or freezer. Chilling these metal parts significantly helps maintain the meat's cold temperature during grinding. This practice prevents the fat from rendering and smearing, which can result in a mushy texture instead of distinct strands of ground meat.
-
Assemble the Grinder:
Once thoroughly chilled, carefully assemble the attachment. First, insert the worm screw into the grinder body. Next, place the four-pronged cutting blade onto the end of the worm screw, making sure the sharp edge faces outwards, away from the screw. Then, select your desired grinding plate (fine, medium, or coarse) and place it over the blade, aligning its notch with the pin on the grinder body. Finally, screw on the locking ring tightly by hand to secure all components.
- Fine Plate: Ideal for pâtés, spreads, and very smooth textures.
- Medium Plate: Excellent for ground beef, pork, or poultry for meatballs, meatloaf, and general cooking.
- Coarse Plate: Best for chili, chunky sausages, or when you want a more substantial texture.
-
Attach to the Mixer Power Hub:
Make sure your KitchenAid stand mixer is turned OFF and unplugged before attaching any accessories. Unscrew the power hub cover on the front of your stand mixer. Insert the grinder's drive shaft into the power hub, ensuring the shaft's notch aligns with the hub's locking pin. Rotate the attachment slightly if needed until it slides fully into place. Once seated, tighten the thumb screw on the mixer's power hub to firmly secure the grinder attachment. Place a large, chilled bowl beneath the grinder's output to catch the ground meat.
Grinding Your Meat: step by step Process
With your attachment set up and meat prepared, you are ready to use the KitchenAid grinder. This process typically takes about 10-20 minutes, depending on the amount of meat.
-
Prepare the Workstation:
Plug in your stand mixer. Have your chilled, cubed meat ready in a separate chilled bowl next to the mixer. Ensure you have the food pusher easily accessible.
-
Load the Food Tray:
Place a small amount of the chilled meat onto the grinder's food tray. Do not overload the tray, as this can impede the grinder's performance and cause the mixer to strain. The larger food tray on the KSMMGA allows for more ingredients, but still exercise moderation.
-
Select Speed and Grind:
Turn your KitchenAid stand mixer to a medium speed setting, typically Speed 4. This speed provides enough power for efficient grinding without overworking the motor or generating excessive heat. Gently feed the meat into the grinder's throat using the food pusher. Apply steady, gentle pressure. Do not force the meat through, as this can damage the mixer or attachment.
Observe the ground meat exiting the plate. It should come out in distinct strands, not a smeared paste. If the grinder sounds like it is straining, reduce the amount of meat you are feeding or increase the speed slightly (not exceeding Speed 6 for grinding).
-
Collect Ground Meat:
As the meat grinds, it will fall directly into the chilled bowl you placed underneath. Keep this bowl on ice if you are grinding a large quantity, especially in a warm kitchen, to maintain a safe temperature.
-
Second Grind (Optional):
For a finer texture or for certain sausage recipes, you may wish to perform a second grind. If doing so, replace the grinding plate with a finer one (e.g., from coarse to medium, or medium to fine). Return the already ground meat to the freezer for another 15-20 minutes to re-chill before running it through the grinder a second time. This helps achieve a superior texture.
Making Sausage with the KitchenAid Meat Grinder Attachment
The KSMMGA includes two sausage stuffer tubes, allowing you to make homemade sausages. This process is similar to grinding but involves an extra step of casing the meat.
Sausage Stuffing Overview
- Prepare the Meat Mixture: Grind your seasoned meat mixture using the desired plate (usually medium or fine). Keep it very cold.
- Assemble for Stuffing: Replace the grinding plate and blade with the sausage stuffing plate and one of the two sausage stuffer tubes. Attach a prepared casing to the end of the tube, gathering it gently.
- Stuffing: Set the mixer to a low speed (Speed 2-4). Feed the meat mixture into the hopper, using the food pusher to gently guide it into the casing. Guide the casing off the tube as it fills, being careful not to overfill or create air pockets.
- Link the Sausages: Once stuffed, twist the casing at desired intervals to create individual sausage links.
Cleaning and Storage
Proper cleaning and storage are vital for the longevity of your attachment and for food safety. This cleaning process should take about 10-15 minutes.
-
Disassemble Immediately:
As soon as you finish grinding, turn off and unplug your stand mixer. Remove the grinder attachment from the power hub. Disassemble all components: the locking ring, grinding plate, blade, worm screw, and grinder body. Do not let meat residue dry on the parts, as it becomes much harder to clean.
-
Wash by Hand:
The metal food grinder components are generally not dishwasher safe. Wash all parts by hand using warm, soapy water and a small brush (the included cleaning tool is very useful here). Pay close attention to the small holes in the grinding plates and the crevices of the worm screw to remove all meat particles. The metal parts can rust if left wet or put in a dishwasher.
-
Rinse and Dry Thoroughly:
Rinse all components thoroughly with clean water. Immediately dry all parts completely with a clean towel. Air drying is not sufficient, as it can lead to water spots or rust, especially on the metal components. Make sure every piece is bone dry before storage.
-
Store Safely:
Once dry, store the grinder attachment and its parts in a dry place, preferably in its original box or a sealed container, to protect it from dust and moisture. Storing it assembled can sometimes trap moisture, so it is often better to store the parts separately or very loosely assembled.
Tips for Best Results
Achieving consistently excellent results with your KitchenAid meat grinder attachment involves a few key practices.
- Keep Everything Cold: This is the most important tip. Cold meat and cold equipment prevent bacterial growth and ensure a clean, distinct grind.
- Do Not Overstuff the Hopper: Feed meat at a steady pace. Overloading can cause the mixer to strain and potentially damage the motor or attachment.
- Use the Food Pusher, Not Your Fingers: Always use the provided food pusher to guide meat into the grinder. Never use your hands or other utensils to push food down, as the blade is very sharp.
- Clean Promptly: As mentioned, clean the attachment immediately after use. Dried meat is significantly more difficult to remove.
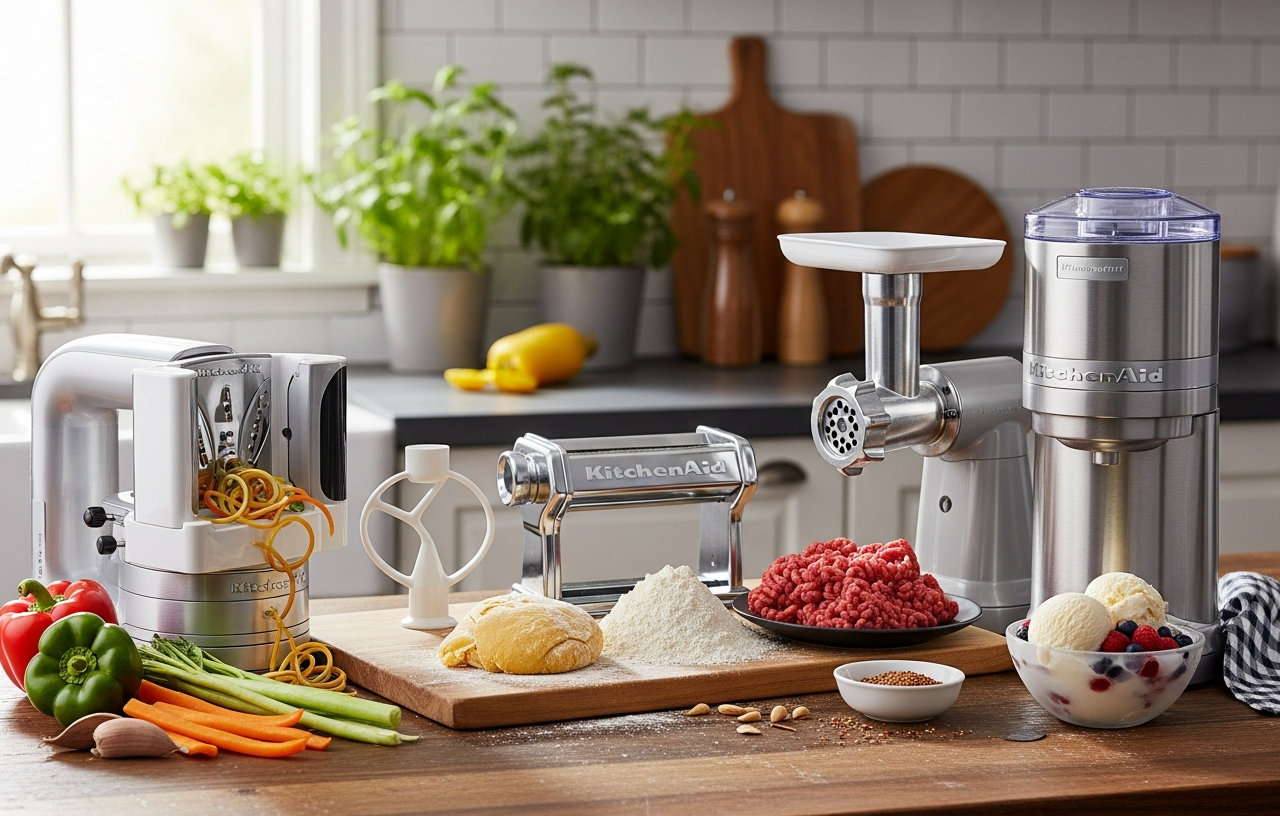
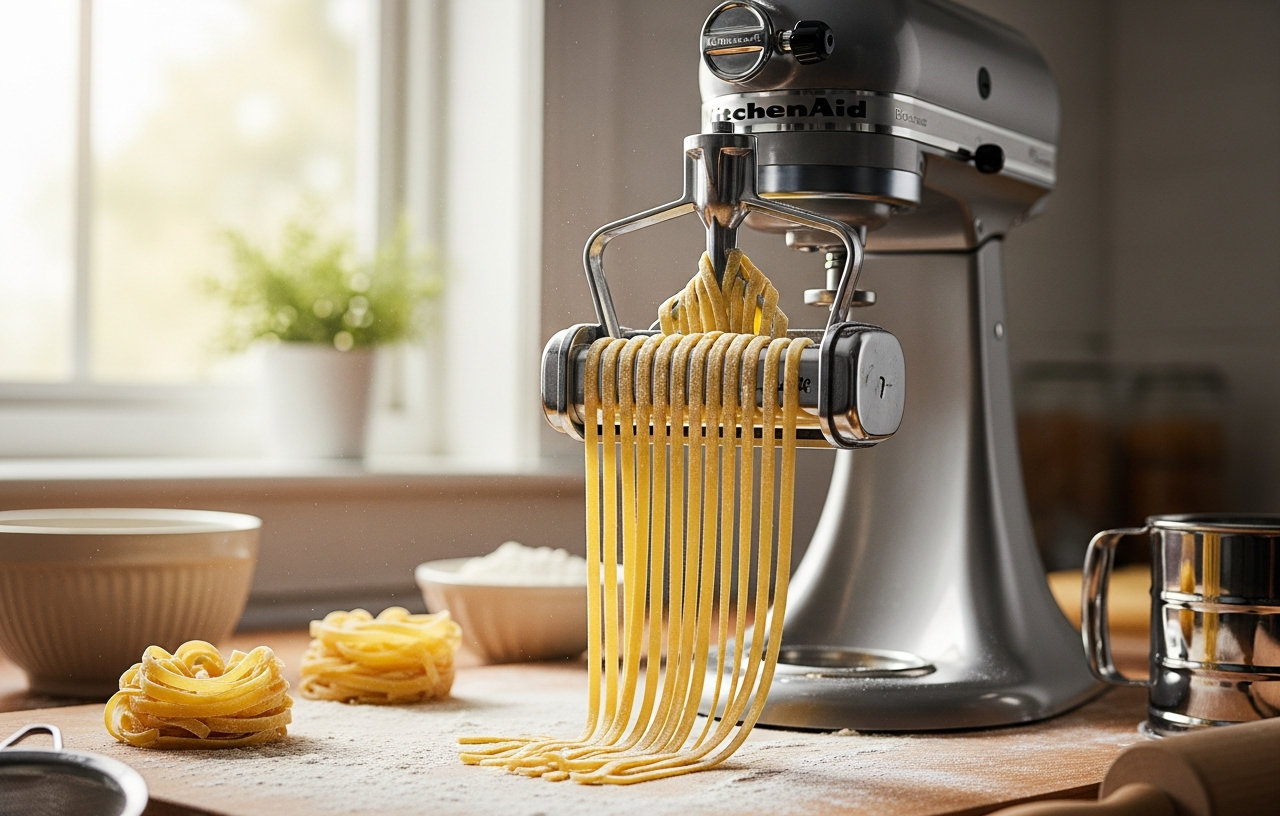
- Consider Other Attachments: If you enjoy making ingredients from scratch, KitchenAid offers a variety of other attachments, such as pasta rollers for homemade noodles, that also connect to the power hub.
For more ideas on expanding your mixer's capabilities, explore our guide to The Best KitchenAid Attachments, Ranked by What You Actually Use.
Conclusion
Learning how to use your KitchenAid meat grinder attachment is a simple process that yields significant rewards in your kitchen. From custom burger blends to fresh, homemade sausages, the control and quality you gain are unmatched.
Discover more about essential mixer accessories in our Top KitchenAid Stand Mixer Attachments: Pasta, Meat Grinder, and More. For general mixer operation tips, check out How to Use a Stand Mixer: Speeds, Tools, and Care.