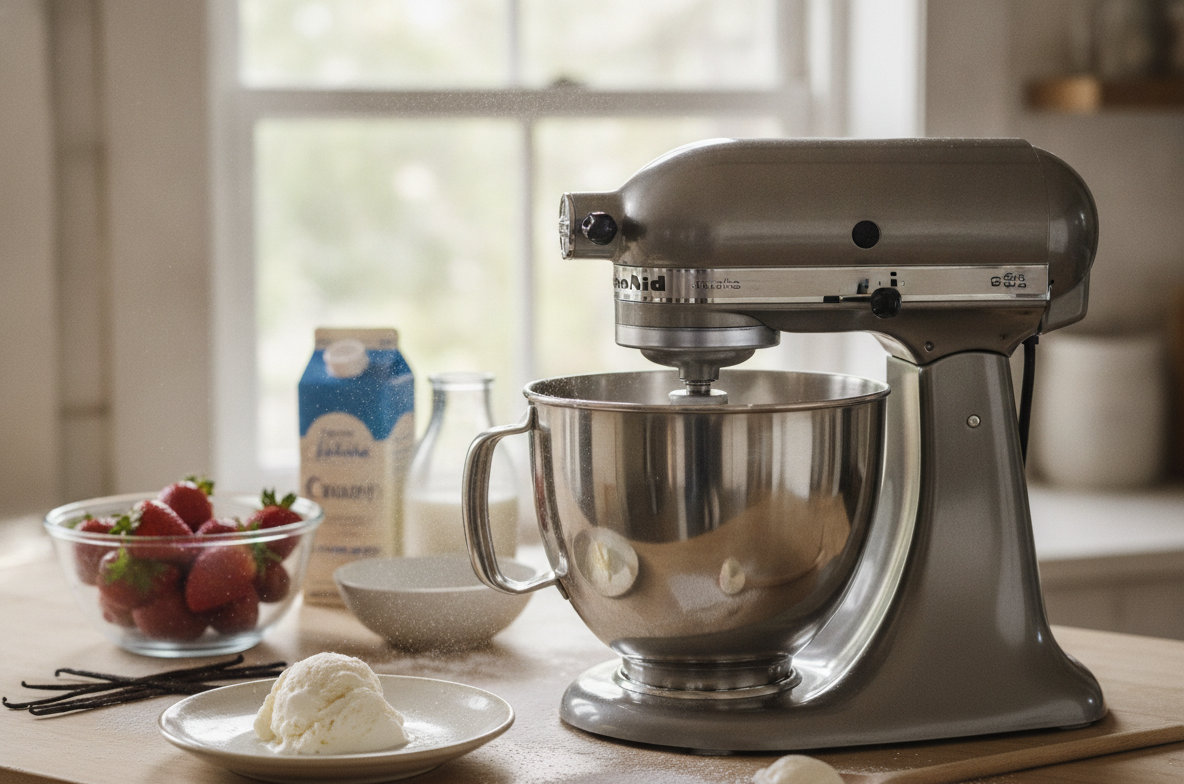
Creating your own frozen desserts at home becomes an accessible pleasure with a KitchenAid stand mixer. The key to making rich, creamy ice cream lies in the KitchenAid Ice Cream Maker Attachment. This dedicated accessory transforms your versatile stand mixer into a compact ice cream parlor, allowing you to control ingredients and experiment with endless flavor combinations. Achieving that perfect scoop of homemade goodness is a rewarding experience.
We will cover the specific steps to make ice cream in a KitchenAid, ensuring you understand how to use the KitchenAid ice cream attachment for optimal results.
Essential Tools and Ingredients for Homemade Ice Cream
Gathering Your Equipment
Before you begin making ice cream with your KitchenAid mixer, gather all necessary tools. Having everything ready streamlines the process and prevents last-minute scrambling.
- KitchenAid Stand Mixer: This is the core of your setup. Make sure it is clean and ready to go.
- KitchenAid Ice Cream Maker Attachment (KSMICM): This 2-quart bowl and dasher assembly is specifically designed for your mixer. Based on manufacturer data, it fits most KitchenAid tilt-head stand mixers, excluding Artisan Mini models (KSM3316 and KSM3317). It also fits most KitchenAid bowl-lift stand mixers, except for certain 5, 5.5, and 6-quart models like K5SS, KSM50, KSM500, KSM450, KSM90, and KG25H. Always verify your specific mixer model number for compatibility before ordering.
- Large Mixing Bowl: For preparing your ice cream base.
- Whisk or Spatula: For mixing ingredients.
- Measuring Cups and Spoons: For accurate ingredient proportions.
- Airtight Container: For storing your finished ice cream in the freezer.
Ingredients for a Classic Vanilla Base
A simple, classic vanilla base provides a fantastic starting point. You can easily adapt this recipe with various flavorings and mix-ins later. This recipe makes approximately 1.5 quarts of ice cream.
- 2 cups heavy cream
- 1 cup whole milk
- 3/4 cup granulated sugar
- 1 tablespoon pure vanilla extract
- Pinch of salt
For different flavors, consider adding cocoa powder for chocolate, fruit purees, or spices like cinnamon. The key is to maintain the proper fat and sugar balance for a creamy texture.
Preparing Your KitchenAid Ice Cream Attachment Bowl
The most critical step in making ice cream in a KitchenAid stand mixer is properly preparing the attachment bowl. The bowl contains a liquid coolant sealed within its double walls. This coolant must be completely frozen solid for the attachment to work effectively.
-
Step 1: Freeze the Bowl (Time: 15-24 hours)
Place the clean, dry KitchenAid ice cream maker attachment bowl in the coldest part of your freezer. It must remain there for at least 15 hours, and ideally 24 hours, to ensure the coolant is fully frozen. A properly frozen bowl will feel very cold to the touch and will have no liquid sloshing sound when shaken. Freezing the bowl thoroughly prevents the ice cream from remaining too soft after churning. Make sure there is enough space around the bowl for proper air circulation in the freezer.
Crafting Your Ice Cream Base (Custard or Non-Custard)
The ice cream base provides the flavor and texture foundation. While a cooked custard base offers a richer, denser ice cream, a simpler non-custard base is quicker and still yields delicious results. For beginners, a non-custard base is an excellent starting point.
-
Step 2: Prepare the Ice Cream Base (Time: 15-20 minutes prep, 2-4 hours chilling)
In a large mixing bowl, combine the heavy cream, whole milk, granulated sugar, vanilla extract, and a pinch of salt. Whisk vigorously until the sugar is completely dissolved. Taste and adjust sweetness if desired, keeping in mind that the flavor will mellow slightly when frozen. Once mixed, cover the bowl and refrigerate the base for at least 2 hours, or preferably overnight. The colder the base, the more efficiently the ice cream maker attachment can churn it into a frozen treat. A well-chilled base helps prevent a grainy or icy texture in your final product.
Assembling and Operating Your KitchenAid Ice Cream Maker Attachment
Once your bowl is frozen and your base is chilled, you are ready to assemble the attachment and begin churning. This is where your KitchenAid stand mixer truly shines, doing all the hard work for you.
-
Step 3: Attach the Frozen Bowl and Dasher
Remove the frozen bowl from the freezer. Attach it to your KitchenAid stand mixer. For tilt-head models, you will usually remove the regular mixing bowl, then place the frozen attachment bowl onto the bowl clamping plate, rotating it counter-clockwise to lock it. For bowl-lift models, place the frozen bowl into the bowl arms and lower the bowl-lift lever. Next, insert the dasher (the paddle-like attachment) into the bowl, ensuring it rests correctly on the drive assembly. Finally, lower the mixer head (for tilt-head) or raise the bowl (for bowl-lift) and attach the flat beater or wire whip to the mixer shaft. The dasher is designed to rotate as the mixer operates, churning the base against the cold walls of the frozen bowl.
-
Step 4: Pour in the Chilled Base
With the mixer turned off, slowly pour the chilled ice cream base into the frozen attachment bowl.
-
Step 5: Churn the Ice Cream (Time: 20-30 minutes)
Turn your KitchenAid stand mixer to the lowest speed setting, typically Speed 1 or 'Stir'. Allow the mixer to churn for 20 to 30 minutes. Do not exceed Speed 2, as higher speeds can overwork the attachment and potentially cause the coolant to thaw prematurely. Observe the mixture as it churns. It will gradually thicken and expand, developing a soft-serve consistency. The ice cream is ready when it pulls away from the sides of the bowl and holds its shape, resembling soft-serve ice cream. The KitchenAid Ice Cream Maker Attachment for Stand Mixer, 2 Quart, KSMICM, White makes thick and creamy ice cream quickly.

- Make thick and creamy ice cream at home, in small batches, and enjoy right out the bowl.. Fits most KitchenAid Tilt-Head Stand Mixers, except Artisan Mini models - KSM3316 and KSM3317. Please verify your model number compatibility before ordering. *Stand Mixer sold separately.. Fits most KitchenAid Bowl-Lift Stand Mixers, except the following 5, 5.5 and 6 Quart models: K5SS, KSM50, KSM500 and KSM450. >It is not compatible with Professional line Stand Mixer models: KSM90 and KG25H. Please verify your model number compatibility before ordering. *Stand Mixer sold separately.. Our 2 quart bowl lets you make your favorite ice creams, gelatos or sorbets in less than 30 minutes* *Excluding prep time.
The Final Touches: Freezing and Flavor Customization
After churning, your ice cream will be soft and ready to enjoy immediately if you prefer a soft-serve texture. For a firmer, scoopable ice cream, an additional freezing step is necessary.
-
Step 6: Transfer and Freeze for Firmness (Time: 2-4 hours)
Using a rubber spatula, transfer the churned ice cream from the attachment bowl into a clean, airtight container. Press plastic wrap directly onto the surface of the ice cream before sealing the container with its lid. This prevents ice crystals from forming. Place the container in the freezer for at least 2 to 4 hours, or until the ice cream reaches your desired firmness. Freezing for longer periods will result in a harder ice cream. For best results, consume homemade ice cream within two weeks.
-
Step 7: Adding Mix-ins and Flavors
The beauty of homemade ice cream is the ability to customize. You can incorporate mix-ins during the last 5 minutes of churning or fold them in after transferring the soft ice cream to your storage container. Popular options include chocolate chips, chopped nuts, fresh fruit, cookie dough pieces, or candy bits. For different flavor profiles, consider adding fruit purees or extracts to your base before chilling. Just make sure any fruit additions are finely chopped or pureed to avoid large icy chunks.
Troubleshooting Common Ice Cream Making Issues
Even with careful preparation, you might encounter minor hiccups. Understanding common issues can help you achieve perfect results every time you make ice cream in a KitchenAid stand mixer.
- Ice cream not firm enough: The most frequent cause is an insufficiently frozen attachment bowl. Make sure the bowl spends the full 15-24 hours in the coldest part of your freezer. Another reason can be an inadequately chilled ice cream base. Always refrigerate your base for at least 2 hours.
- Ice cream too icy or grainy: This often happens if the base has too much water and not enough fat or sugar. Ensure you use heavy cream and whole milk as specified in recipes. Churning too slowly or for too short a time can also contribute to iciness. The faster the churn, the smaller the ice crystals.
- Mixer struggling or stopping: If your mixer seems to struggle, the ice cream base might be too thick, or the bowl might not be properly attached. Double-check the bowl's seating on the mixer. If the base is too thick, try thinning it slightly with a tablespoon or two of milk.
- Coolant leaking from the bowl: This is a rare occurrence, but if it happens, discontinue use immediately. The bowl is sealed, and a leak indicates damage.
Beyond Ice Cream: Other KitchenAid Attachments to Explore
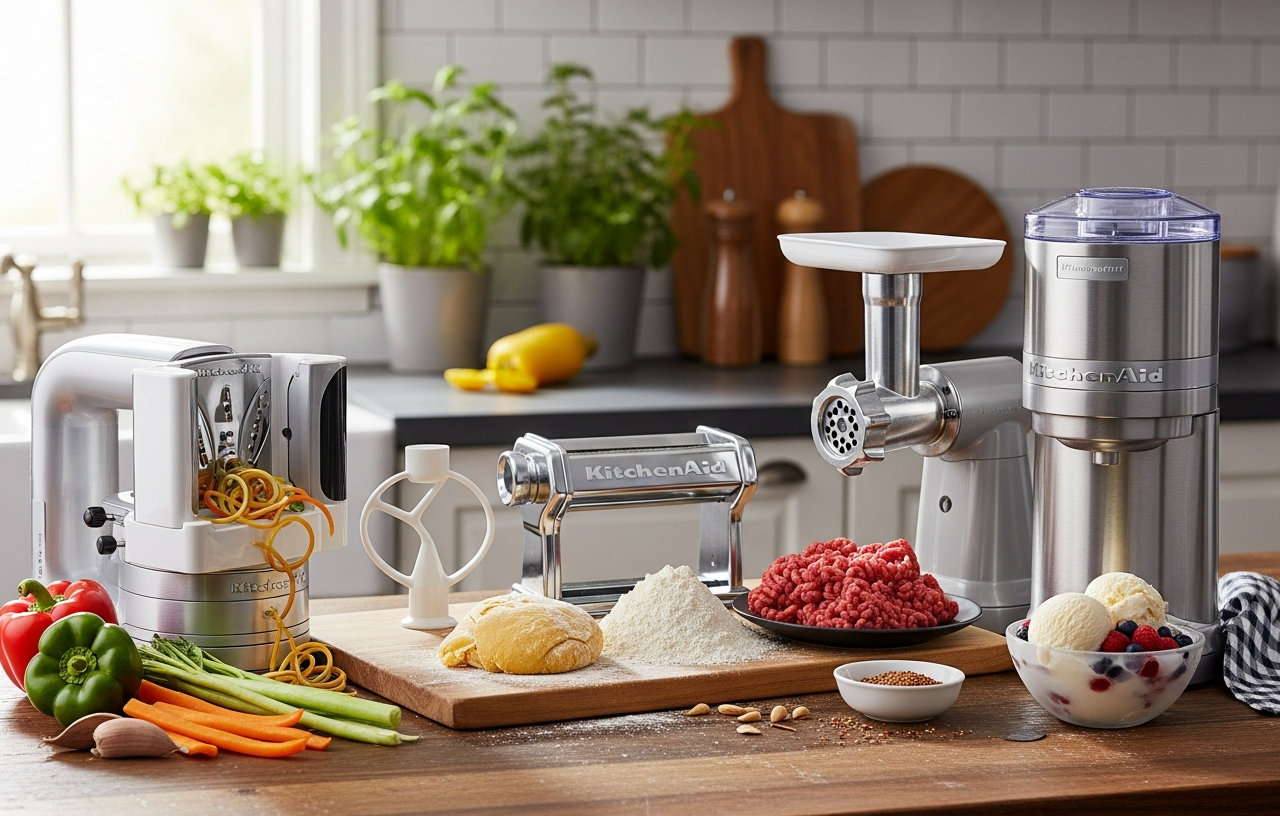
Your KitchenAid stand mixer is a powerhouse for more than just ice cream. Its power hub accommodates a wide array of attachments that expand its functionality significantly. Exploring these options can further enhance your kitchen capabilities, making your stand mixer an even more versatile appliance.
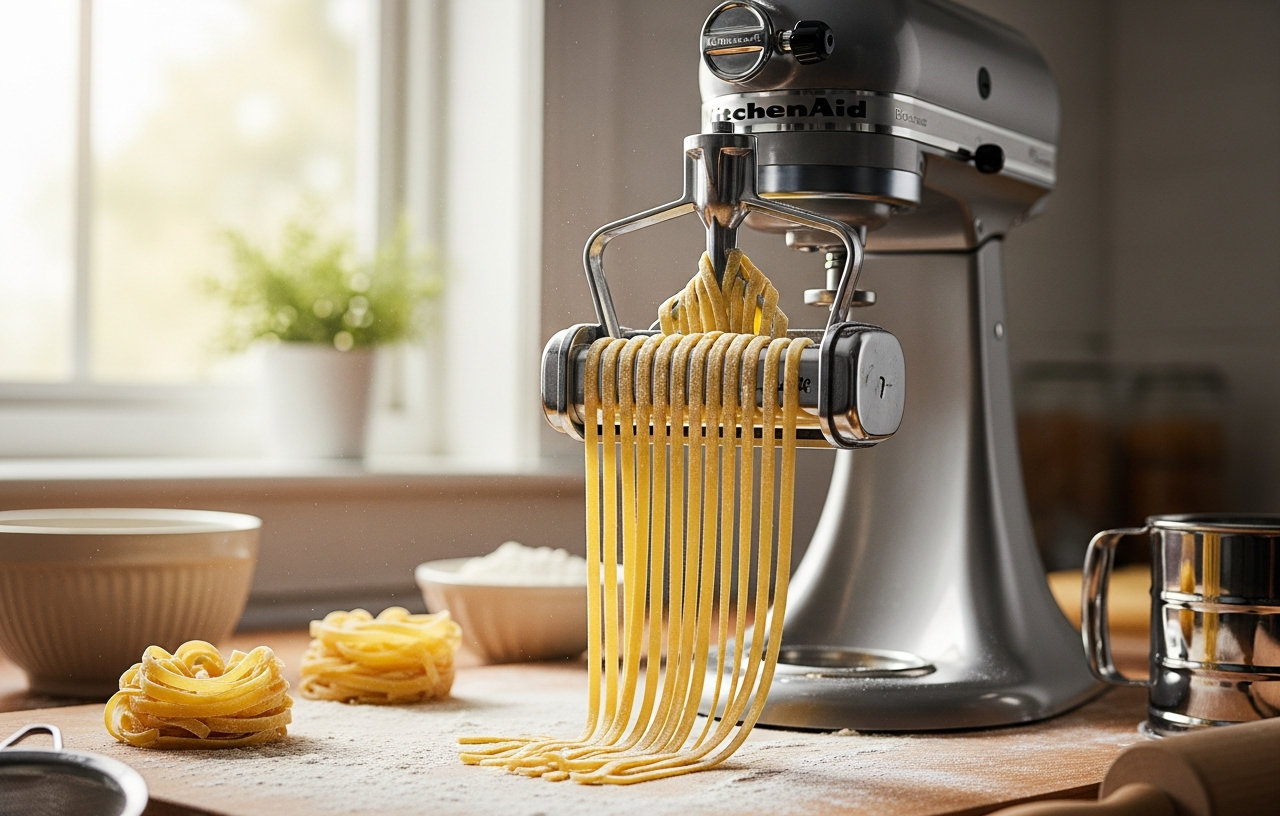
One popular choice is the KitchenAid Stand Mixer Attachment, KSMPRA 3-Piece Pasta Roller & Cutter Set. This set allows you to easily roll 6-inch sheets of fresh pasta with 8 thickness settings. It makes quick work of homemade fettuccine or spaghetti, fitting all household KitchenAid Stand Mixers. The stainless steel rollers and cutters ensure consistent, smooth dough and clean cuts, making it a favorite for pasta enthusiasts.

- Genuine KitchenAid Stand Mixer Attachment - Designed and engineered by the manufacturers of the KitchenAid Stand Mixer, sold separately. Powered by your KitchenAid Stand Mixer to make quick and easy work of fresh homemade pasta in your kitchen using the 3-Piece Pasta Roller and Cutter Set. Fits all Household KitchenAid Stand Mixers. sold separately.. Stainless steel rollers and cutters for consistent smooth rolling and clean cutting of pasta dough. Hand Wipe only - cleaning tool included.. Easily roll 6-inch sheets of fresh pasta, with 8 thickness settings, to achieve your desired sheet thickness.
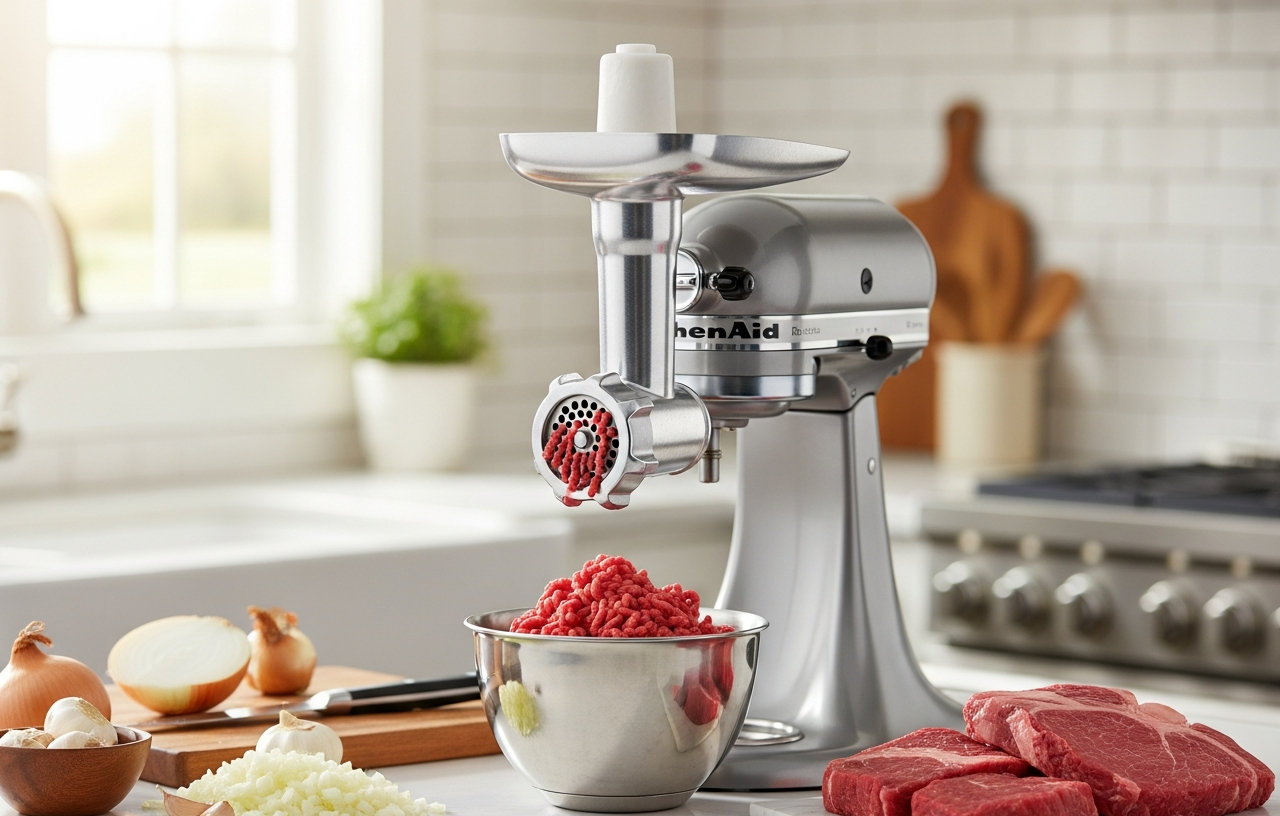
Another excellent addition is the KitchenAid Stand Mixer Attachment, Food Grinder KSMMGA, Metal Food Grinder. This attachment connects to any household KitchenAid Stand Mixer power hub, using the motor's power to grind meats, cheeses, and more. It includes fine, medium, and coarse grinding plates along with two sausage stuffer tubes, opening up possibilities for fresh burgers, sausages, and inventive dishes. The larger food tray, compared to earlier models, helps process more ingredients in one batch, saving prep time. Pre-chilling the grinder can help maintain a cold grinding temperature for a neat and clean grind. These attachments demonstrate the incredible versatility of your KitchenAid mixer, allowing you to venture into various culinary projects beyond baking.

- Connect to any household KitchenAid Stand Mixer power hub and use the power of the motor to run the metal food grinder attachment. sold separately.. The possibilities for creating fresh, inventive foods are endless with the included fine, medium and coarse grinding plates and two sausage stuffer tubes.. The larger food tray allows you to process more ingredients in one batch, cutting down on food prep time. Compared to model FGA.. Pre-chill the grinder in the refrigerator or freezer to maintain a cold grinding temperature for a neat and clean grind every time.
To learn more about the full range of accessories available, you can explore The Best KitchenAid Attachments, Ranked by What You Actually Use. For detailed information on pasta attachments, consider reading Best KitchenAid Pasta Attachments: Roller, Cutter, and Press Sets Compared. If you are interested in the meat grinder and other versatile tools, Top KitchenAid Stand Mixer Attachments: Pasta, Meat Grinder, and More offers further insights.
Enjoying Your Homemade Creation
Making ice cream with a KitchenAid mixer is a rewarding process that combines convenience with culinary creativity. From the initial freezing of the bowl to the final hardening in the freezer, each step contributes to a delightful frozen treat. The ability to control ingredients means you can create healthier options, cater to dietary needs, or simply indulge in unique flavor combinations not found in stores. Experiment with different extracts, mix-ins, and bases to discover your favorite homemade ice cream recipes. Your KitchenAid stand mixer is a powerful tool for this delicious journey.
For more general guidance on operating your stand mixer, refer to How to Use a Stand Mixer: Speeds, Tools, and Care.