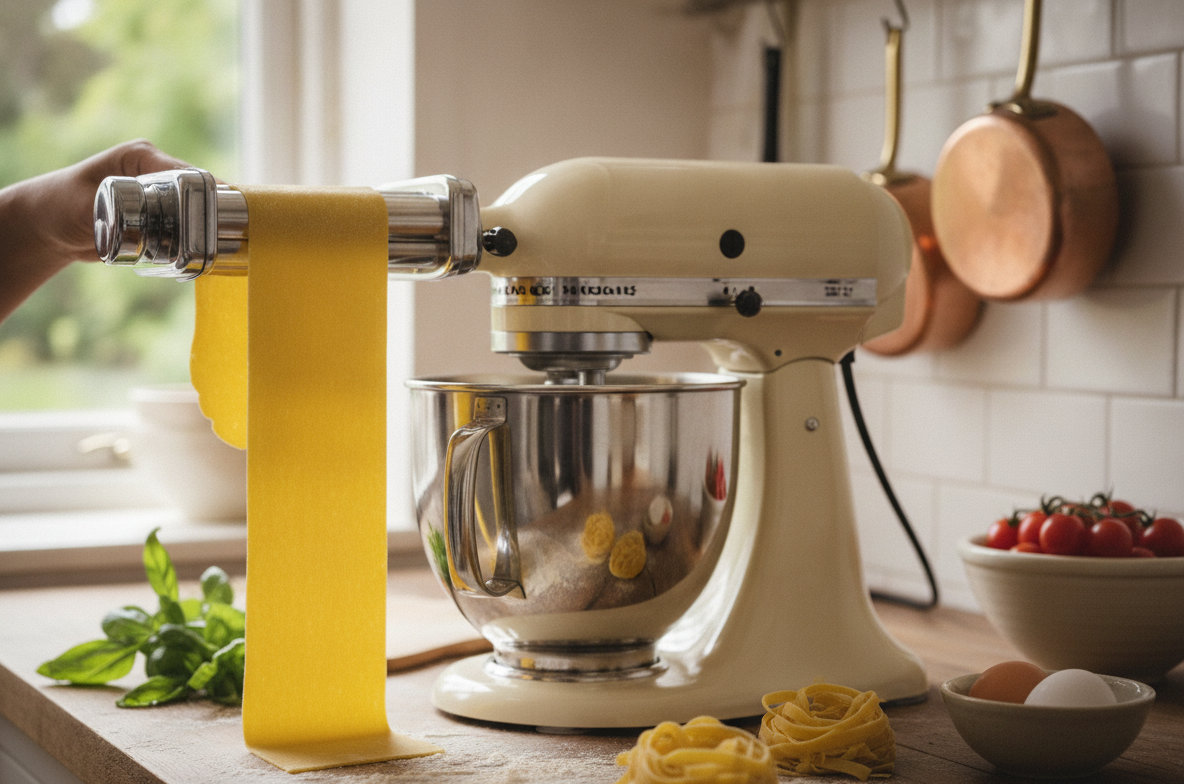
The consistent quality of homemade pasta starts with properly prepared dough and the right equipment. A stand mixer, paired with a dedicated pasta making attachment, transforms the often laborious process of pasta creation into an enjoyable kitchen activity. Many home cooks discover the joy of fresh pasta, from delicate spaghetti to robust fettuccine, once they understand how to properly use their kitchen aid pasta maker or other brand's pasta maker attachment.
Understanding the steps for using a pasta maker machine kitchenaid or any stand mixer pasta maker for the kitchenaid system makes a significant difference. You can produce restaurant-quality noodles at home. The process involves a few key stages: dough preparation, rolling, cutting, and proper drying. Each stage contributes to the final texture and taste of your homemade dish.
Getting Started: Essential Tools and Dough Preparation
Before you begin making fresh pasta with your stand mixer, gather the necessary tools and ingredients.
Required Tools and Materials (Approximate Time: 15-20 minutes prep, 30 minutes rest)
- Stand Mixer: Any household KitchenAid Stand Mixer or compatible brand with a power hub.
- Pasta Making Attachment: A pasta roller and cutter set, such as the KitchenAid Stand Mixer Attachment, KSMPRA 3-Piece Pasta Roller & Cutter Set. This set includes a pasta roller, a fettuccine cutter, and a spaghetti cutter.
- Large Mixing Bowl: For dough preparation.
- Measuring Cups and Spoons: For accurate ingredient measurement.
- Bench Scraper or Knife: For portioning dough.
- Clean Kitchen Towel or Plastic Wrap: For resting the dough.
- Flour: All-purpose or '00' flour is ideal.
- Eggs: Large eggs are standard for pasta dough.
- Salt: A pinch enhances flavor.
- Semolina Flour or Cornmeal: For dusting to prevent sticking.
- Pasta Drying Rack (Optional but Recommended): For air-drying fresh pasta.
The KitchenAid Stand Mixer Attachment, KSMPRA 3-Piece Pasta Roller & Cutter Set connects directly to the power hub of any KitchenAid Stand Mixer. This design makes it a true kitchen aid pasta maker, drawing its power directly from the mixer's motor. Its stainless steel rollers and cutters are designed for consistent, smooth results, which is why it's a popular pasta making attachment kitchenaid owners rely on.

- Genuine KitchenAid Stand Mixer Attachment - Designed and engineered by the manufacturers of the KitchenAid Stand Mixer, sold separately. Powered by your KitchenAid Stand Mixer to make quick and easy work of fresh homemade pasta in your kitchen using the 3-Piece Pasta Roller and Cutter Set. Fits all Household KitchenAid Stand Mixers. sold separately.. Stainless steel rollers and cutters for consistent smooth rolling and clean cutting of pasta dough. Hand Wipe only - cleaning tool included.. Easily roll 6-inch sheets of fresh pasta, with 8 thickness settings, to achieve your desired sheet thickness.
Preparing Your Pasta Dough
A good pasta dough is the foundation of excellent homemade noodles. The ratio of flour to eggs can vary, but a common starting point is 2 cups of '00' flour or all-purpose flour to 3 large eggs, plus a pinch of salt. Some recipes may call for a tablespoon of water or olive oil, depending on desired texture and humidity levels.
Combine the flour and salt in your stand mixer's bowl. Create a well in the center and add the eggs. Use the dough hook attachment on low speed to gradually incorporate the flour into the eggs. Mix until a shaggy dough forms. Increase the speed to medium-low and knead for 5 to 7 minutes. The dough should become smooth, elastic, and slightly firm. It should not stick to your fingers.
If the dough is too sticky, add a teaspoon of flour at a time until it reaches the correct consistency. If it's too dry and crumbly, add a teaspoon of water. Once kneaded, form the dough into a ball. Wrap it tightly in plastic wrap or cover it with a damp kitchen towel. Let the dough rest at room temperature for at least 30 minutes. This resting period allows the gluten to relax, making the dough easier to roll and less prone to tearing.
For more detailed information on various stand mixer attachments and their uses, including other specialized tools, consider reading our guide on Stand Mixer Attachments Guide: What Each One Does and Who Needs It. You can also explore our main guide to The Best KitchenAid Attachments, Ranked by What You Actually Use for a broader overview.
step by step: Using Your Pasta Maker Attachment
Once your dough has rested, you are ready to use your kitchenaid pasta maker attachment. This section focuses on the pasta roller first, then the cutters.
Step 1: Mount the Pasta Roller (Estimated Time: 1 minute)
Make sure your stand mixer is turned off and unplugged. Insert the shaft of the pasta roller attachment into the power hub on the front of your stand mixer. Tighten the attachment knob firmly until the roller is securely in place. You want to make sure there is no wobble during operation.
Step 2: Prepare Dough for Rolling (Estimated Time: 2-3 minutes)
Unwrap your rested pasta dough. Use a bench scraper or knife to divide the dough into four equal portions. Keep the portions you are not currently working with covered to prevent them from drying out. Flatten one portion into a rough rectangle. This makes it easier to feed into the roller.
Step 3: First Passes Through the Roller (Estimated Time: 5-7 minutes per portion)
Turn your stand mixer to speed 2. Set the pasta roller to its widest setting, typically '1' on the KitchenAid pasta maker attachment. Feed one flattened dough portion through the roller. Fold the dough in half or in thirds, creating a rectangle. Feed it through the widest setting again. Repeat this folding and rolling process 5 to 6 times. This step further kneads the dough and helps to create a smooth, even texture, removing any remaining lumps or rough edges. It also helps to square off the edges of the dough sheet.
Step 4: Gradually Thinning the Dough (Estimated Time: 10-15 minutes per portion)
Once the dough is smooth and even, do not fold it anymore. Change the roller setting to '2'. Feed the dough sheet through. Then, change the setting to '3' and feed it through again. Continue this process, increasing the setting by one notch each time, until you reach your desired thickness. For most pasta types like fettuccine or spaghetti, settings '5' or '6' are appropriate. For very delicate pasta or lasagna sheets, you might go to '7' or '8'. Make sure the dough sheet remains lightly floured to prevent sticking as it gets thinner. If it starts to tear, fold it, pass it through a wider setting once or twice, and then resume thinning.
Step 5: Cutting the Pasta (Estimated Time: 5-10 minutes per portion)
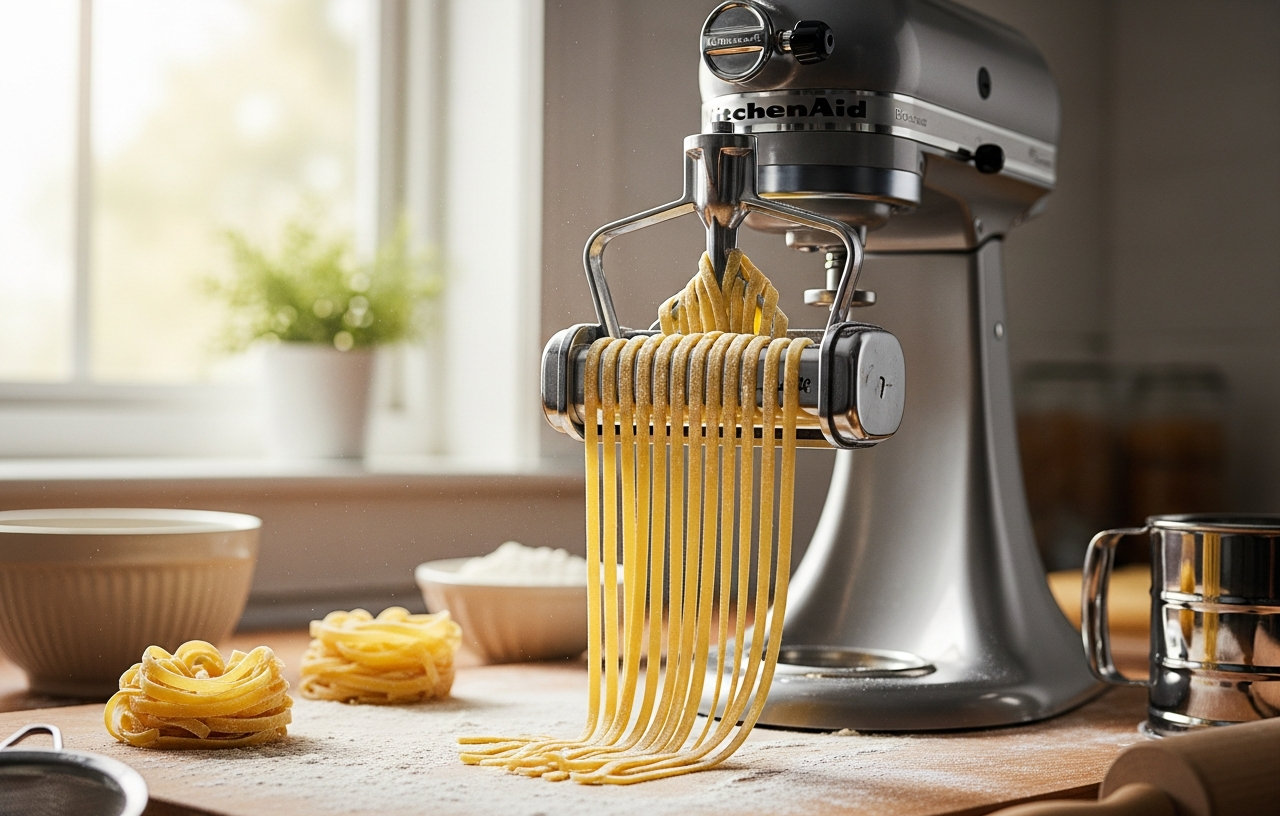
Once you have a long, thin sheet of pasta dough, detach the pasta roller from the power hub. Attach the desired cutter, either the fettuccine or spaghetti cutter, securing it firmly. Turn the mixer to speed 2. Lightly dust the pasta sheet with semolina flour or cornmeal. Carefully feed one end of the pasta sheet into the cutter. The machine will pull the dough through and cut it into strands. As the pasta emerges, catch it with your hands and gently lay it on a floured surface or hang it on a pasta drying rack. If making multiple batches, keep the cut pasta separated to prevent it from clumping together.
Safety Warning:
Always keep your fingers away from the rollers and cutters when the stand mixer is running. Use the provided cleaning tool or a soft brush, never your hands, to clear any dough jams. Unplug the mixer before attaching or detaching any components.
For a detailed comparison of different pasta maker attachments for KitchenAid, including roller, cutter, and press sets, see our article on Best KitchenAid Pasta Attachments: Roller, Cutter, and Press Sets Compared. This can help you choose the best kitchenaid pasta maker for your specific needs.
Finishing and Storing Your Homemade Pasta
After cutting, fresh pasta needs a little care before cooking or storage.
Drying Fresh Pasta (Approximate Time: 15-30 minutes for air drying)
Freshly cut pasta can be cooked immediately. However, if you are not cooking it right away, or if you want to prevent it from sticking, it needs to air dry slightly. Lay the pasta strands in a single layer on a lightly floured surface or hang them on a pasta drying rack. Allow them to dry for 15 to 30 minutes. This partial drying prevents the pasta from sticking together during cooking and gives it a better texture. For longer storage, pasta can be dried for several hours or overnight until brittle, then stored in an airtight container.
Cooking Your Pasta (Approximate Time: 2-4 minutes)
Bring a large pot of salted water to a rolling boil. Add your fresh pasta. Fresh pasta cooks much faster than dried pasta. Depending on the thickness, it usually takes only 2 to 4 minutes to reach al dente. Taste a piece to check for doneness. Drain the pasta and serve immediately with your favorite sauce.
Storing Fresh Pasta (Approximate Time: N/A)
If you plan to use the pasta within a day or two, you can lightly flour the partially dried noodles, form them into small nests, and store them in an airtight container in the refrigerator. For longer storage, fresh pasta freezes well. Arrange the lightly floured nests on a baking sheet and freeze until solid, about 30 minutes. Transfer the frozen nests to a freezer-safe bag or container. Frozen pasta can be cooked directly from frozen; just add a minute or two to the cooking time. It can typically be stored for up to one month in the freezer.
Cleaning and Storing Your Pasta Attachments
Proper cleaning and storage extends the life of your pasta maker attachment kitchen aid.
Cleaning Your Attachments (Approximate Time: 5-10 minutes)
The most important rule for cleaning metal pasta attachments is to . Water can cause rust and damage the internal mechanisms. Instead, allow any dough residue to dry completely on the attachments, usually for about an hour. Once dry, use the provided cleaning brush, a stiff pastry brush, or a toothpick to gently brush off all dried dough particles. The KitchenAid pasta maker attachment comes with a specific cleaning tool designed for this purpose.
For stubborn bits, you can use a damp cloth to wipe the exterior, but make sure to dry it immediately. A quick wipe with a clean, dry cloth after brushing ensures no moisture remains. This method applies to all metal kitchenaid with pasta maker attachments.
Storing Your Attachments (Approximate Time: 1 minute)
Once clean and completely dry, store your pasta attachments in their original box or a clean, dry cabinet. Keeping them in a protective container prevents dust buildup and protects them from accidental damage. Proper storage ensures your pasta maker for the kitchenaid system is ready for your next culinary adventure.
Mastering the use of your stand mixer pasta attachment for making pasta opens up a world of fresh, delicious possibilities in your kitchen. With practice, you will find yourself effortlessly creating a variety of noodle shapes and enjoying the superior taste of homemade pasta.